What Jointer Snipe Actually Is and Why It Happens
Jointer snipe has changed quite a bit thanks to the conflicting advice flying around. Half the forums tell you it’s technique. The other half blame your machine. After years of jointing boards and ruining more than a few glue-ups, I sat down and learned this particular headache. Today, I will share it all with you.
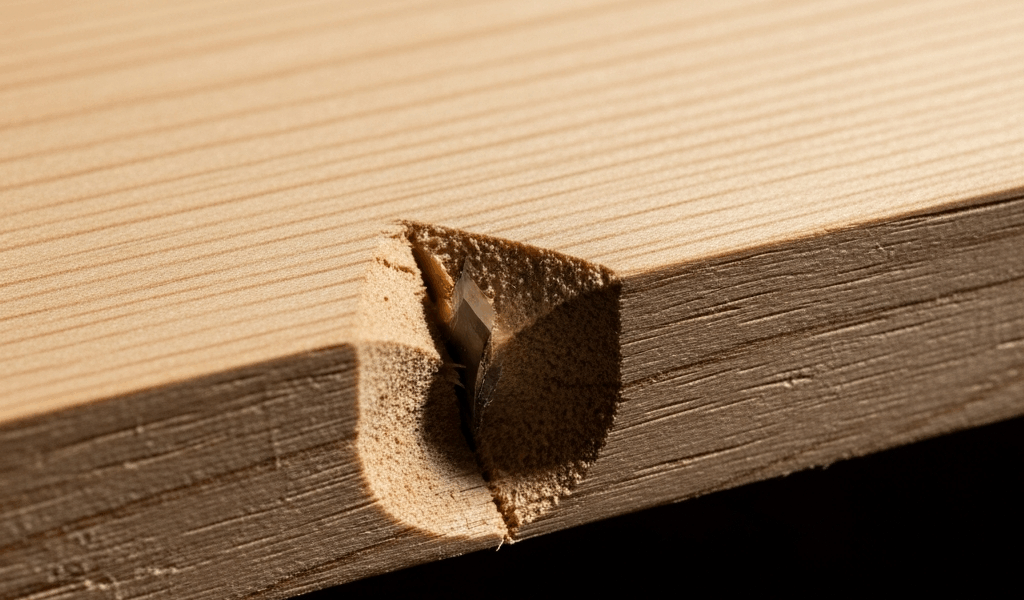
But what is jointer snipe? In essence, it’s a deeper gouge cut into the trailing end of your board — usually half an inch to an inch long — right where you need the surface clean. But it’s much more than that. It’s a mechanical failure happening in the last fraction of a second your board is in contact with the cutterhead.
Here’s what’s actually going on: the outfeed table is supposed to support the board as it exits, keeping the cutterhead from biting deeper. When that table sits even slightly below the knife apex, the board tips downward into the spinning cutterhead. One dip. One deeper cut. Snipe. The board is moving forward, gravity is doing its thing, and those knives are spinning at several thousand RPM — it doesn’t take much.
This is completely different from planer snipe, which involves chip-breaking geometry and infeed roller pressure. Don’t let anyone conflate the two. Separate beasts. Separate fixes. Chasing a planer solution when your jointer outfeed table is the actual culprit — that’s how you waste an entire Saturday. Skip the misstep I made.
Step 1 — Check Your Outfeed Table Height First
Start here. Here’s the part worth saying first. I spent three weeks blaming my feed technique before I ever touched a straightedge, and the table height was off by a thirty-second the whole time.
Your outfeed table has to sit dead level with the cutterhead knives at their highest point of rotation. Not a sixteenth low. Not a thirty-second high. Exactly level. Non-negotiable.
While you won’t need a machinist’s granite surface plate, you will need a reliable straightedge — at least 24 inches long. A 24-inch aluminum straightedge runs $15 to $30 at any decent woodworking supplier. Buy one if you don’t own one already. Place it lengthwise across the jointer bed with one end on the infeed table and the other on the outfeed table. Then rotate the cutterhead by hand — safety lever off, always — until one knife reaches the absolute top of its arc. The straightedge should contact both tables evenly with zero light showing underneath. Any gap under the outfeed side is your answer.
If the table is low, raise it. If it’s somehow high, lower it. Most jointers — your Grizzly G0490, your Delta DJ-20, most of them — have adjustment screws or bolts at the front and rear of the outfeed table. Check your manual for exact locations. Make small adjustments, maybe an eighth of a turn at a time, and retest with the straightedge after each one.
A mistake I see constantly: woodworkers deliberately set the outfeed table a hair low, thinking it softens tearout. It doesn’t. It manufactures snipe. A low outfeed table creates exactly the conditions for that end-of-board dip into the knives.
Step 2 — Fix Your Feed Pressure and Timing
Even with the table height dialed in, technique matters. That’s what makes this problem endearing to us woodworkers — two things can be wrong at once.
So, without further ado, let’s dive in. Here’s the scenario that causes snipe even on a properly adjusted machine: your left hand is pressing down on the board over the infeed table as it approaches the cutterhead. Correct so far. But the moment the trailing edge clears the cutterhead, some woodworkers lift all that left-hand pressure and shift entirely to the outfeed side. There’s a split-second of slack. The board rocks down into the knives. Snipe happens.
The fix requires discipline. Keep firm downward pressure on the infeed side through the entire pass. As the board’s leading edge reaches the outfeed table, add pressure with your right hand there — don’t subtract from your left at the same time. Both hands pressing simultaneously for maybe two or three seconds. Then, only after the board clears the cutterhead entirely, ease off the infeed pressure. The board never loses support. The knives never get a chance to bite deeper.
Frustrated by persistent snipe after fixing my table height, I watched a furniture maker with 30 years of experience run a pine board — a cheap, knotty 1×6 from a big-box store — and the hand overlap was obvious once I knew to look for it. I copied it exactly on my next board. The snipe was gone.
Step 3 — Check for Worn or Loose Outfeed Table Gibs
If your table height is set correctly and your technique is solid and snipe is still showing up, the table itself may have play in it.
Press down hard on the far end of the outfeed table — the end furthest from the cutterhead. Feel any movement? There shouldn’t be any. Even slight flex means the gibs, the metal strips holding the table in its dovetail tracks, are worn or the mounting hardware is loose.
First, you should tighten all mounting bolts and gib screws — at least if you haven’t already ruled out mechanical looseness. Use the correct socket or an adjustable wrench. Snug is the goal, not gorilla-tight. You’re removing play, not stripping threads. Check your jointer’s manual for torque specs if you have them.
A replacement gib set might be the best option, as jointer table stability requires consistent contact along the full length of the track. That is because worn gibs develop low spots that no amount of bolt-tightening fully corrects. A Powermatic PM2000 has different gib access than a Grizzly G0459, so open your specific manual rather than guessing. Most gib adjustment procedures take about 30 minutes — loosen one side, shim or tighten the other until the play is gone, recheck. Not an overhaul. Just a maintenance task that gets ignored until it causes snipe.
If the table is still moving noticeably after you’ve tightened everything and addressed the gibs, the machine has accumulated enough wear that re-machining or a professional overhaul is probably the honest answer. That’s a call-a-technician moment, not a YouTube-fix-it moment.
When to Just Joint Past the Snipe and Move On
Here’s the pragmatist’s truth: sometimes it just doesn’t matter.
I’m apparently someone who over-engineers solutions, and chasing perfect snipe elimination on rough dimensioning work never once made my final projects better. If you’re jointing boards that are headed to the planer anyway, cut your stock a quarter-inch longer than your final dimension. Joint past the snipe. Trim the affected end off before planing. You lose maybe half an inch per board — that’s money in rough stock, easily justified at $4 to $8 per board foot for most hardwoods.
Edge-jointing for glue-up is different. Face-jointing show faces is different. Working with anything expensive or scarce — figured walnut, wide cherry, anything you drove two hours to pick up — snipe is not acceptable there. Fix the machine. The outfeed table height check takes 10 minutes. The technique correction takes one practice board. Both are faster than repairing a blown glue-up or hand-sanding snipe marks out of a show face at 220 grit.
Check the table height first, nail your technique second, inspect the gibs third. Do them in that order. You’ll either find the problem immediately or discover your machine is in better shape than you feared.


Stay in the loop
Get the latest the workshop journal updates delivered to your inbox.