Today, I will share it all with you.
Assessing Your Space
Measure everything before you buy a single tool: length, width, ceiling height, door openings, window locations, electrical panel location. These fixed parameters define what’s possible regardless of what you want or what the internet says a workshop should look like.
A minimum functional workshop needs roughly 150 square feet for a table saw, workbench, and basic assembly area. That’s tight. You’ll be moving things constantly and working with limited clearance. Two hundred to three hundred square feet provides real flexibility for tool placement and workflow without requiring professional-scale space. A one-car garage is about 200 square feet — workable with thoughtful layout and mobile bases. A two-car garage starts approaching the size where you can stop compromising.
Critical factors to assess honestly before anything else. Electrical capacity: most shops need at least 60-amp service, and a table saw alone can draw 15-20 amps at startup. Running multiple tools on inadequate service causes breakers to trip at the worst possible moments. Climate control matters both for your comfort and the wood’s stability — extreme humidity swings cause lumber to move, which ruins joinery. Plan for heating in cold climates and humidity control in wet ones. Lighting: poor visibility causes accidents and makes marking out joinery impossible to do precisely. Plan for overhead fixtures providing at least 50 foot-candles at work surfaces, and supplement with task lighting at machines and the bench. Dust management affects tool placement, electrical requirements, and your lungs — work out the dust collection strategy early because it shapes everything else. Access for materials: a standard door severely limits how you can bring large sheet goods and long lumber into the space without awkward maneuvering.
Essential Tools for Getting Started
Resist the temptation to buy everything at once. Starting with fundamentals and adding tools as specific projects demand them produces a better collection than buying comprehensively upfront and discovering that some tools don’t match how you actually work.
The Critical Five
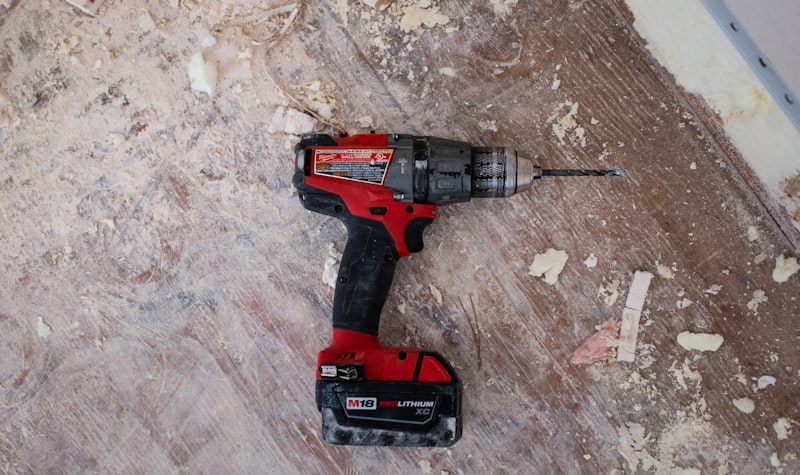
Five tools form the backbone of functional woodworking shop capability. A table saw is the central machine for most shops — a quality contractor or hybrid saw handles 90% of cutting tasks and processes both solid wood and sheet goods efficiently. Prioritize the fence system and motor quality over features. A workbench is the foundation of all hand tool work and assembly — flat, sturdy, and at the right height for your body. A quality cordless drill handles driving screws, boring holes, and more tasks than any other single tool in the shop. A random orbit sander handles final surface preparation faster and more consistently than hand sanding, and the finish quality difference is substantial on large surfaces. Accurate measuring and marking tools — a quality tape measure, combination square, marking knife, and sharp pencils — because no tool produces good results if you can’t measure accurately to start with.
Second Tier Additions
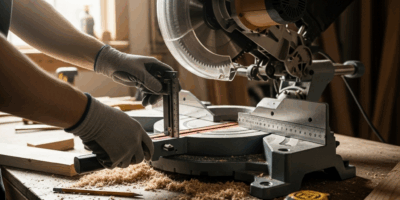
Once you’ve completed a few real projects and identified what’s slowing you down, add tools that address specific bottlenecks. A miter saw for crosscuts and angles. A router for edge profiles and joinery. A bandsaw for curved cuts and resawing thick stock into thinner boards. A jointer and planer for milling rough lumber to flat and consistent dimensions. A dust collector for your health and the shop’s cleanliness. These additions change what you can build, not just how fast you build it.
Workshop Layout Principles
Good shop layout minimizes wasted motion and maximizes safety. The goal is efficient workflow paths with adequate clearances around each machine. I’ve rearranged my shop three times since the first layout, and each rearrangement came from understanding what I actually do most versus what I assumed I’d do most.
The Work Triangle
Like kitchen design, workshops benefit from triangular workflow between the three stations you use most. For most woodworkers that’s the table saw, workbench, and assembly area. Positioning these at triangle points minimizes the walking distance during typical projects — moving from dimensioning to joinery to assembly without crossing back and forth across the shop repeatedly.
Machine Clearances
Every machine needs clear space for material handling, and underestimating this is the most common layout mistake. A table saw needs full sheet width — four feet — on the infeed, outfeed, and left side for ripping operations. A miter saw needs twelve total feet along its axis for handling long boards. A bandsaw needs four feet on both infeed and outfeed. A planer and jointer need eight feet or more on each side for handling long boards without outfeed support standing in for proper clearance.
Mobile bases solve a lot of layout problems in smaller shops. A machine that rolls into position for a specific operation and then moves back against the wall can serve double or triple duty in the floor space it occupies.
Workflow Zones
Organizing the shop into logical zones makes the workflow feel natural rather than forced. Material storage near the entry so incoming lumber doesn’t have to cross the whole shop. Rough processing — miter saw and planer — near that storage. Primary machining — table saw — in the center where clearance is greatest. Detail work — router table, bandsaw — off to one side. Assembly at the bench with clamp storage accessible. Finishing either in a separate area or handled as a dedicated time when machines are cleared away from the path.
Storage Solutions That Work
Clutter is a safety hazard and a productivity killer. Good storage keeps tools findable and floor space clear for material handling.
French Cleat Systems
French cleats are the most flexible storage system in any workshop. Simple 45-degree-beveled strips allow infinite rearrangement of tool holders, shelves, and bins without drilling new holes or committing to a fixed configuration. Building a French cleat wall is an excellent early shop project — it’s forgiving to build, immediately useful, and pays dividends forever as your tool collection changes and your preferences evolve.
Lumber Storage
Wood needs to be stored flat on stickers — spacers that allow air circulation under and between boards — to prevent warping during acclimation. Wall-mounted racks work well for long boards and keep them organized by species and dimension. Sheet goods carts allow vertical storage of plywood panels in a compact footprint. The common mistake is stacking lumber directly on concrete without stickers, which causes moisture absorption and warping in even dry-seeming environments.
Hardware Organization
Small parts accumulate faster than any other category in a working shop. Screws, nails, hinges, bolts, washers, insert nuts — all need systems that make finding the right fastener take seconds rather than minutes. Drawer organizers, labeled bins, clear-front storage boxes: the specific system matters less than the consistency with which you use it. Every fastener type gets one location and always goes back to that location.
Safety Infrastructure
Safety equipment is not optional and not something to add later. These elements go in on day one before any tool gets used. A fire extinguisher rated for Class A, B, and C fires, mounted near the exit. A first aid kit stocked and in a known location. Dust collection connected to major dust producers. Eye and hearing protection staged at each major machine. Adequate lighting so shadows don’t create visual hazards. Clear paths to exits that never get blocked by materials or equipment.
Electrical Considerations
Inadequate electrical service is one of those problems you discover at the worst possible moment — mid-project with glue drying. Consult a licensed electrician if you’re uncertain about your panel’s capacity before you start adding machines. Key principles: dedicated 20-amp circuits for major power tools so they don’t share capacity with shop lighting or other loads. Overhead power drops or ceiling-mounted outlets reduce trip hazards from cords crossing the floor. Consider 240V circuits for dust collectors, planers, and jointers that operate more efficiently at higher voltage. GFCI protection in any area near a sink or where moisture is possible.
Growing Your Shop Over Time
The best workshops evolve continuously. Start with fundamentals, add tools as real project needs arise, and revise the layout when workflow friction points reveal themselves. Keep notes on what annoys you. If you repeatedly move one machine to use another, a permanent layout change is worth considering. If a specific operation slows every project because you lack the tool for it, that’s the next purchase.
The most important thing is to actually use the shop. A perfectly planned space that waits for the ideal moment never produces anything. Get enough in place to start building, and refine everything else as you go.
Next Steps
Ready to dive deeper? Explore these related guides:
- What Is a Good Workshop Size?
- Detailed Shop Layout Planning
- Complete Dust Collection Guide
- Building Your First Workbench
- Creative Tool Storage Solutions
Building a workshop is a project that never truly ends. Embrace the journey and enjoy the process of creating your ideal making space.


Stay in the loop
Get the latest the workshop journal updates delivered to your inbox.