Why Wood Filler Fails in the First Place
Wood filler has become tricky with all the conflicting advice flying around. Strip it back to basics and the problem almost always traces to one of four things — contamination in the void, wrong product for that specific wood or repair depth, shrinkage pulling the filler away as it cures, or a substrate so slick that water-based adhesion never stood a chance. Scan the sections below, match your exact situation, and you’ll walk away with a concrete fix instead of another round of frustrated sanding.
The Surface Is Oily, Dusty, or Was Already Finished
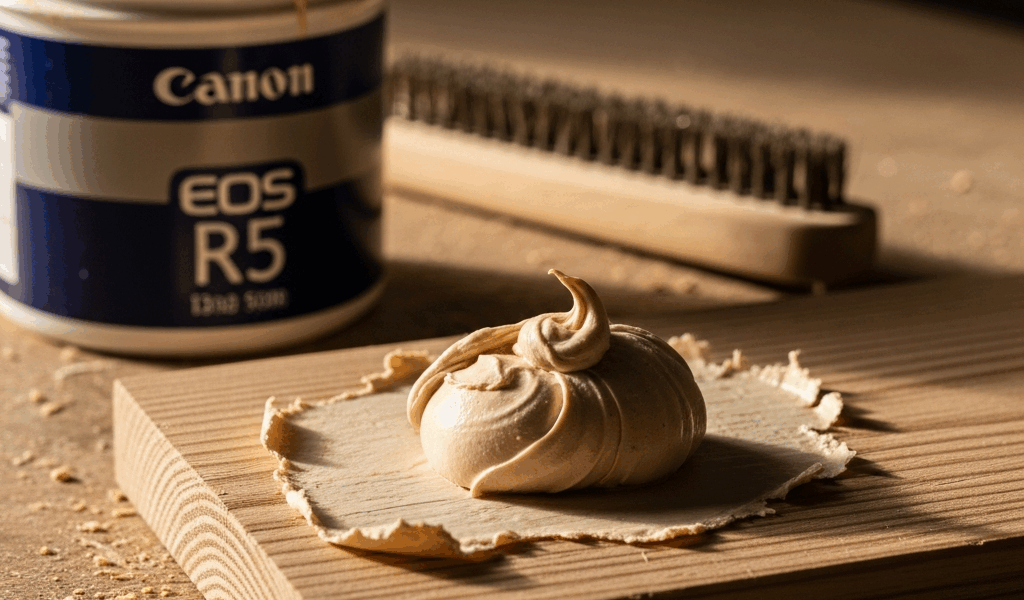
As someone who inherited a teak dresser from my uncle, I put in the hours studying oily wood the hard way. I packed a gouge with standard water-based filler — Elmer’s Carpenter’s Wood Filler, tan colored, about $6 at the time — let it cure overnight, and the next morning it popped out clean as a bottle cap. No bond whatsoever. Teak does that. Pine with pitch pockets, rosewood, and certain cherry boards behave the same way.
Sanding dust left sitting in a void acts like a release agent. Microscopic particles wedge between the filler and the wood grain and prevent any real mechanical grip. Compressed air alone won’t cut it. I’ve blasted air into a void for 30 full seconds, convinced it was clean, filled it anyway, and watched the whole repair fail three weeks later. Don’t do what I did.
The fix is straightforward. Soak a rag in naphtha or acetone — Klean-Strip naphtha works fine, runs about $10 a quart — and wipe the void thoroughly. Then wait. Watch until the solvent flashes off completely and you can no longer smell it. The surface should feel genuinely dry, not just cool. Only then pick up the filler. That single step removes dust, oils, and any residual finish hiding in the grain.
Previously finished wood is its own problem. Water-based filler will not grab polyurethane or lacquer — you can almost see it happening if you watch closely, the filler sitting on top like grease on water. Sand back to bare wood in and around the void first. A 100-grit sanding sponge handles that in about two minutes. Worth every second.
One more thing. Open-grained species like oak and ash trap dust deeper than they look. After the solvent wipe, scrub the void with a brass brush. You’re not prettying anything up — you’re clearing mechanical obstructions so the filler actually has something to grip.
You Used the Wrong Type of Filler for the Job
This is the piece to know up front.
But what is water-based wood filler, really? In essence, it’s a latex compound suspended in water that hardens as moisture evaporates. But it’s much more than that — it’s also, frustratingly, a product that shrinks as it cures. That shrinkage is fine for hairline cracks or shallow dents under 2mm. Anything deeper and the filler starts pulling away from the walls of the void as the water leaves. Press the edge with your fingernail after it cures and it rocks. That’s what you’re hearing when people say filler “popped out.”
Solvent-based fillers — sometimes labeled stainable wood filler or oil-based filler — are a different animal. They penetrate the surface chemically rather than sitting on top the way water does. Minwax makes a reliable one. So does Elmer’s. They smell stronger, cure slower, and sand noticeably harder, but on teak, rosewood, or pitch-pocket pine, the adhesion difference is real. I’m apparently sensitive to the fumes and Minwax works for me while the cheaper generic versions never quite set the same. If water-based already popped out on you, solvent-based is your next move before anything else.
Two-part epoxy filler is the correct answer for anything deeper than 3 to 4mm, structural repairs, outdoor projects, or wood under regular stress. TotalBoat and System Three both make quality epoxy fillers — runs about $8 to $15 per application versus roughly $3 for a water-based tub. Epoxy cures through chemical reaction, not evaporation, so shrinkage is minimal. You mix the two parts, work fast — 10 to 15 minute open time depending on temperature — and let it harden fully before touching it.
One critical note about “stainable” filler. That label means you can stain over it. Not that it will match. The filler itself comes out tan or light oak regardless. Stain the whole piece afterward and the grain mismatch will still show if you look for it. Accept that limitation upfront, or commit to epoxy putty and hand-color it with artist’s pigment. Most people don’t need perfection — but you should know what you’re getting into before you start.
The Void Is Too Deep and the Filler Is Shrinking Out
A friend of mine once tried to patch a half-inch-deep hole in a hardwood floor — single application, water-based filler, optimistic approach. Forty-eight hours later, the filler had pulled away from the entire perimeter and left a visible ring of bare wood around the edge. Classic shrinkage failure. That was two years ago and he still talks about it.
Anything deeper than roughly 3 to 4mm needs a different strategy. Two options that actually work:
Layer-filling. Apply a thin coat — about 1/8 inch — let it harden completely, then add the next layer. Check the label for cure time, usually 2 to 4 hours between coats. Repeat until the void is flush. Slower, but reliable.
Two-part epoxy for anything approaching 1/4 inch or deeper. One clean application, minimal shrinkage, cured hard in 24 hours. For voids approaching half an inch, back it out first — glue in a small wooden shim or backing piece to reduce the actual fill depth. A 3/16-inch gap left for filler is manageable. A half-inch void filled in one shot is just setting up the next failure.
There’s also a low-tech approach that works surprisingly well. Dry-fit a wooden toothpick or short dowel into the void, glue it in with standard wood glue, let it cure fully, then sand flush and fill the remaining shallow gap with water-based filler. Takes the pressure off the filler to bridge a large gap entirely on its own. That’s what makes this method endearing to us DIYers — no special products, no mixing, just wood and glue doing what they do.
How to Test the Repair Before You Sand and Finish
After the filler hits the manufacturer’s recommended cure time, stop. Don’t grab sandpaper yet.
Press firmly on the edge of the repair with your fingernail or the flat of a chisel blade. If it flexes or rocks even slightly, it hasn’t bonded. Pop it out, clean the void, start over with a different product or approach — no point sanding something that’s already failed.
Try lifting a corner with a chisel tip. Clean peeling means adhesion failure. Look for a hairline gap around the perimeter where filler meets wood. A gap visible now means water sneaks underneath during finishing — and eventually the repair goes with it.
If the repair passes both tests, wait a full 24 hours before sanding. Even if the surface feels hard at 2 hours, water-based fillers keep hardening significantly between hour 4 and hour 24. Sand at 24 hours and the result is cleaner, smoother, and the dust will be fine and uniform rather than chunky. Chunky sanding dust is the repair telling you something went wrong. Fine dust means it held.
So, without further ado — or another wasted tube of filler — go clean that void properly first. Everything else follows from there.


Stay in the loop
Get the latest the workshop journal updates delivered to your inbox.