DIY Carriage Doors
DIY Carriage Doors
Carriage doors add vintage charm to any home. These doors hinge outward, offering a unique look compared to the more common overhead garage doors. Building your own carriage doors can be a satisfying project. Knowing the right steps will ensure a durable and attractive result.


Materials and Tools
Carriage doors are made from wood, metal, or a combination of both. Choose materials based on your budget and desired aesthetics. Wood provides a traditional look, while metal can offer a modern twist.

- Wood: Redwood, cedar, or even engineered wood works for this project.
- Metal: Steel or aluminum provides strength and durability.
- Hardware: Hinges, handles, and bolts. Make sure these are designed for heavy doors.
- Finish: Paint, stain, or weatherproof sealant.
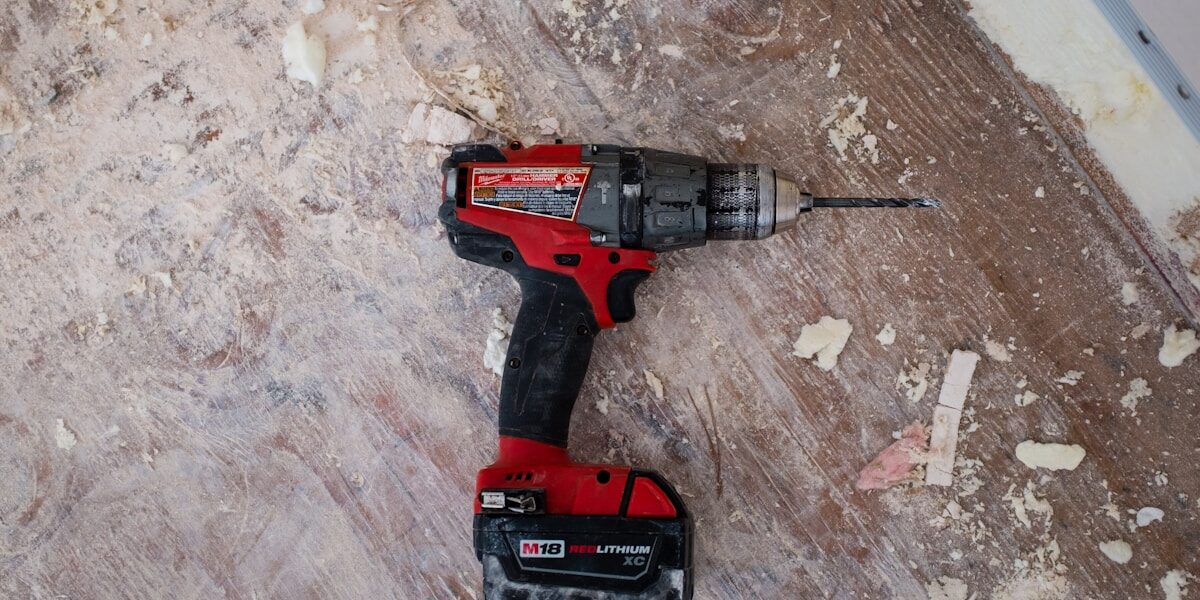
Tools needed include a saw, drill, sander, measuring tape, square, spirit level, and clamps. Good quality tools make the job easier and ensure precision.

Measuring and Planning
Measure the garage opening accurately. Carriage doors usually split into two halves, so consider the division carefully. Remember to account for spacing for the door frames and allowance for hardware.

Sketch your design. Draw detailed plans to visualize the structure. This step is crucial for figuring out dimensions and positioning of panels and frames. If adding windows, decide on their placement and size.

Building the Frame
Start by cutting the wood for the frame. Use a square and measuring tape for precision. The frame supports the entire structure, so sturdy construction is necessary. Assemble the frame using wood screws. Clamps will help hold pieces in place for a secure fit.

Check the frame with a spirit level to ensure it is square. Diagonal measurements can confirm the squareness. Reinforce corners if needed.

Attaching Panels
Cut the panels according to your sketches. Sand the edges to remove splinters and ensure a smooth finish. Attach the panels to the frame using wood screws.

Position and secure the panels tightly to avoid gaps. If installing windows, cut out the window spaces before attaching the panels. Use silicon around the window openings for waterproofing.

Applying Finishes
Sand the entire door to prepare it for finishing. Sanding removes rough spots and helps the finish adhere better. Clean off dust before applying any finish. Choose a paint or stain suitable for outdoor use. Apply a primer if painting. Let each layer dry thoroughly before adding another.

For a more rustic look, consider weatherproof sealant over a natural wood stain. This brings out the wood grain while offering protection.

Installing Hardware
Position the hinges on the door and doorframe. Mark locations accurately for even weight distribution. Predrill holes to prevent wood splitting. Secure the hinges with heavy-duty screws.

Attach handles and any other decorative hardware. Consider the height and location for ease of use. Ensure these are aligned uniformly on both doors.

Mounting the Doors
Mount the doors on the frame. Have a helper hold doors in place during this process. Check alignment and spacing continually. Ensure doors swing open and close without issues. Adjust hinges as necessary.

After mounting, test the doors several times. Look for smooth operation and proper closure. Make any final adjustments to hardware or alignment as needed.

Maintaining Your Carriage Doors
Regular maintenance ensures longevity. Inspect hinges and hardware periodically and tighten if loose. Reapply finish or sealant as needed to protect from the elements.

Check for any signs of damage or wear, especially after extreme weather. Address any issues immediately to prevent further damage. Lubricate hinges occasionally to ensure smooth operation and avoid rust.

Creative Enhancements
Add personal touches for uniqueness. Consider decorative trim or corner brackets. Stenciling and custom paint designs can enhance the aesthetic appeal. For a modern twist, integrate smart technology like automatic openers or keyless entry systems.

Benefits of DIY Carriage Doors
Building your own carriage doors offers customization to match your home’s style. It can be more cost-effective compared to pre-made options. Additionally, the satisfaction of completing a hands-on project is gratifying.

Furthermore, homeowners gain valuable skills and experience through DIY projects. These skills can be applied in future home improvement endeavors.

Common Mistakes to Avoid
Poor measurements lead to misaligned doors. Always double-check measurements before cutting. Using incorrect tools can result in a subpar finish or structural issues. Invest in quality tools or consider renting if needed.

Neglecting to seal or finish the wood exposes it to weather damage. It’s crucial to apply the finish properly and reapply it as necessary.

Resources and Further Reading
Seek out online tutorials and guides for additional tips. Join DIY communities for support and advice. Many project-specific forums and social media groups can provide insights and inspiration.

Books on woodworking and home improvement also offer valuable knowledge. Libraries and bookshops have plenty of resources on DIY projects and techniques.

\n\n
Related Articles
\n


