What Planer Snipe Actually Is and Why It Happens
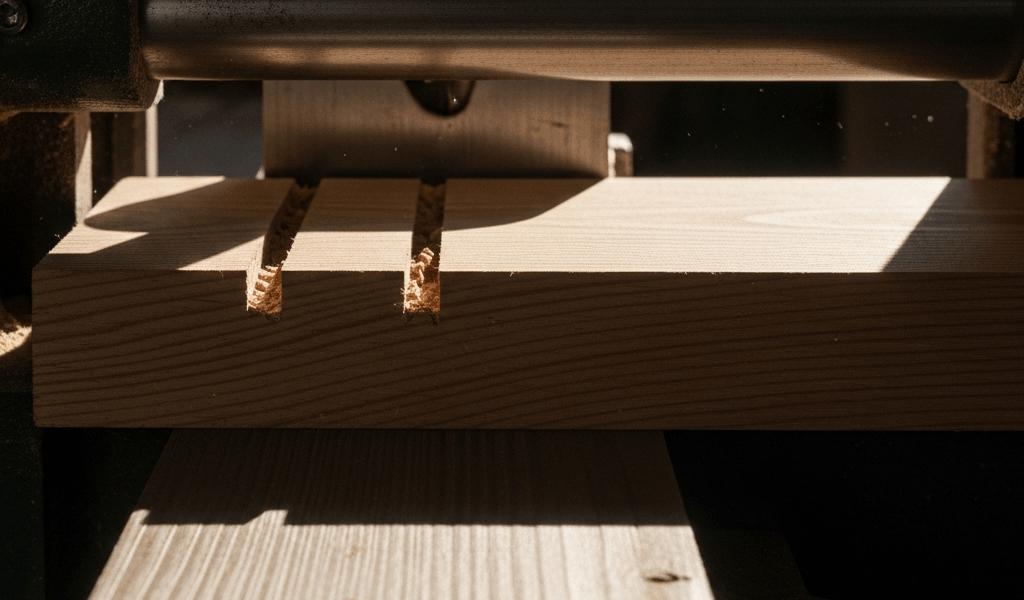
Planer snipe has started getting harder to follow with all the conflicting advice flying around. So let me cut through it. That shallow gouge at the start or end of your board — sometimes both ends — isn’t some mysterious woodworking curse. You feed in a perfectly flat piece of stock and pull out something that looks like it got attacked with a chisel on the leading edge. Frustrating doesn’t cover it.
But what is planer snipe, exactly? In essence, it’s a mechanical depth error caused by the board tipping. But it’s much more than that. When only one feed roller has contact with your workpiece, the board rocks upward just slightly — we’re talking fractions of an inch — and the knives bite deeper than you set them to. That’s it. A split second of tipping and you’ve got a divot you’ll be sanding for twenty minutes.
Figure Out Where Your Snipe Is Happening First
Important part first. I burned a full hour last year cranking on my outfeed table when the problem was entry snipe the entire time. The fix for one does nothing for the other.
Before touching a single adjustment, you need to know whether you’re dealing with entry snipe, exit snipe, or both. Most woodworkers skip straight to random fixes. That’s backwards.
Grab your next board. Write “START” on the leading edge with a pencil. Write “END” on the trailing edge. Run it through at your normal thickness setting and pull it out.
Snipe on the START edge means the board tipped when it first hit the infeed roller — your infeed support is probably too low, or you let go too early. Snipe on the END edge means the board lifted when it lost contact with the outfeed side. Same mechanical problem, opposite end of the machine. Skip the misstep I made. Diagnose before you start turning knobs.
Five Fixes That Actually Stop Planer Snipe
- Infeed and Outfeed Support at Exact Table Height
Not approximately flush — exactly flush. There’s a difference. I used to stack spare boards as outfeed support until I spent $42 on a roller stand from Woodcraft that bolts directly to my DeWalt DW735. Changed everything. If your outfeed support drops even 0.015 inches below the planer bed, the board dips as it exits and you get snipe. Check with a straightedge. Shim with playing cards — seriously, they’re about 0.010 inches thick and they work perfectly. This one fix addresses both entry and exit snipe at the same time. - Slight Upward Hand Pressure on the Trailing End
As your board exits the planer, apply gentle downward pressure on the trailing end — the exit end, not the infeed end. You’re countering the board’s natural tendency to rock backward when it loses contact with the infeed roller. It sounds crude. It works anyway, especially for exit snipe. Use just enough pressure to feel the board stay planted against the table. Too much and you’re fighting the machine. This is honestly entry-level technique and it solves the problem faster than most people expect. - Sacrificial Board Technique
Mill one long, straight sacrificial board that matches your stock thickness. A 36-inch piece of clear pine runs about $2 at any big box store. Butt the leading end of your workpiece right against the trailing end of the sacrificial board and feed them through together. The sacrificial board hits the infeed roller first, so your actual workpiece skips that initial tip-up moment entirely. When your board exits, the sacrificial piece absorbs the exit snipe instead. Once it gets chewed up, mill a new one. Two dollars of pine beats sanding snipe out of a figured walnut tabletop — every single time. - Lighter Finish Pass on Final Thickness
Set your final pass to remove 0.100 inches instead of 0.150. Lighter cuts mean less downward force from the cutterhead, less flex in the board, cleaner ends. This won’t eliminate snipe alone — but combine it with the sacrificial board method on figured hardwoods and it’s nearly bulletproof. I’m apparently someone who runs two finish passes on anything expensive, and that habit works for me while single heavy passes never do. - Head Lock Feature If Your Planer Has One
Some planers — the Makita 2012NB and certain older Festool models especially — have a head lock that clamps the cutting head solid to the column. Engage it. Takes five seconds. It removes the variable play that causes inconsistent depth and chatter. Won’t fix a setup problem, but it eliminates one free variable that works against you. Check your manual. If your machine has it, there’s no reason not to use it.
When Your Planer Setup Is the Real Problem
Sometimes snipe persists no matter what you do with technique. That’s when the machine itself needs attention.
First, you should check for a loose head on the column — at least if you’re running a benchtop model like the DW735 or Makita 2012NB. Find the bolts clamping the head to the vertical column and put a wrench on them. They should be tight enough that you genuinely cannot move the head by hand. Loose there means variable cutting depth on every single pass. Tighten evenly, a quarter turn at a time, alternating bolts.
Second, pull the front cover and look at your feed rollers under a decent work light. Pitch buildup, sawdust, resin — any of it causes uneven grip, which causes the board to slip and tip. Wipe them down with mineral spirits on a cotton cloth. If they’re pitted or visibly worn past the surface, cleaning won’t help. Replacement rollers run $30–$50 depending on your model — worth it. Spin each roller by hand when you’re done. It should turn freely. Grinding sounds mean something else is wrong.
The Fastest Workaround If You Cannot Eliminate It Completely
Here’s what some articles won’t say out loud: certain benchtop planers — especially anything under $200 — will always produce some snipe. That’s just what they do.
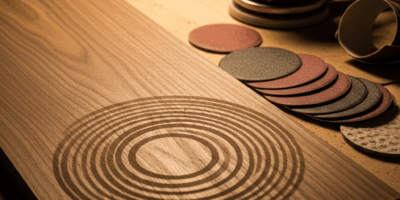
So. Mill your boards a half inch longer than your final dimension. Plane to thickness. Bandsaw the sniped ends off afterward. Sand the new ends smooth. Done. Thirty seconds of work total and you’re moving on with clean stock.
Snipe is machine behavior. It’s not a personal failure. That’s what makes this workaround endearing to woodworkers who just want to build something — sometimes the fastest answer beats the perfect one.


Stay in the loop
Get the latest the workshop journal updates delivered to your inbox.