Rabbet Joint Box: A Complete Guide
The rabbet joint is a fundamental woodworking technique. It is widely used in the construction of boxes. Understanding how to create a rabbet joint box can elevate your woodworking skills. This guide will walk you through the process, materials, and tools required.

Materials and Tools
Before starting, gather the necessary materials and tools. The list is straightforward:
- Wood boards
- Wood glue
- Clamps
- Saw (table saw, dado blade, or router)
- Chisels
- Measuring tape
- Square
- Sandpaper
Choosing the Right Wood
Selecting the appropriate wood is crucial for your rabbet joint box. Softwoods like pine or spruce are easier to work with. Hardwoods like oak provide durability but require more effort to cut and shape. Consider the final use of the box when choosing your wood.
Measuring and Cutting the Wood
Accurate measurements are key. Using a measuring tape and square, mark the dimensions on your wood boards. Keep your measurements precise to ensure all sides fit together well. Cut the wood according to your marks using a saw. A table saw with a dado blade is ideal for making straight and clean cuts.
Creating the Rabbet Joints
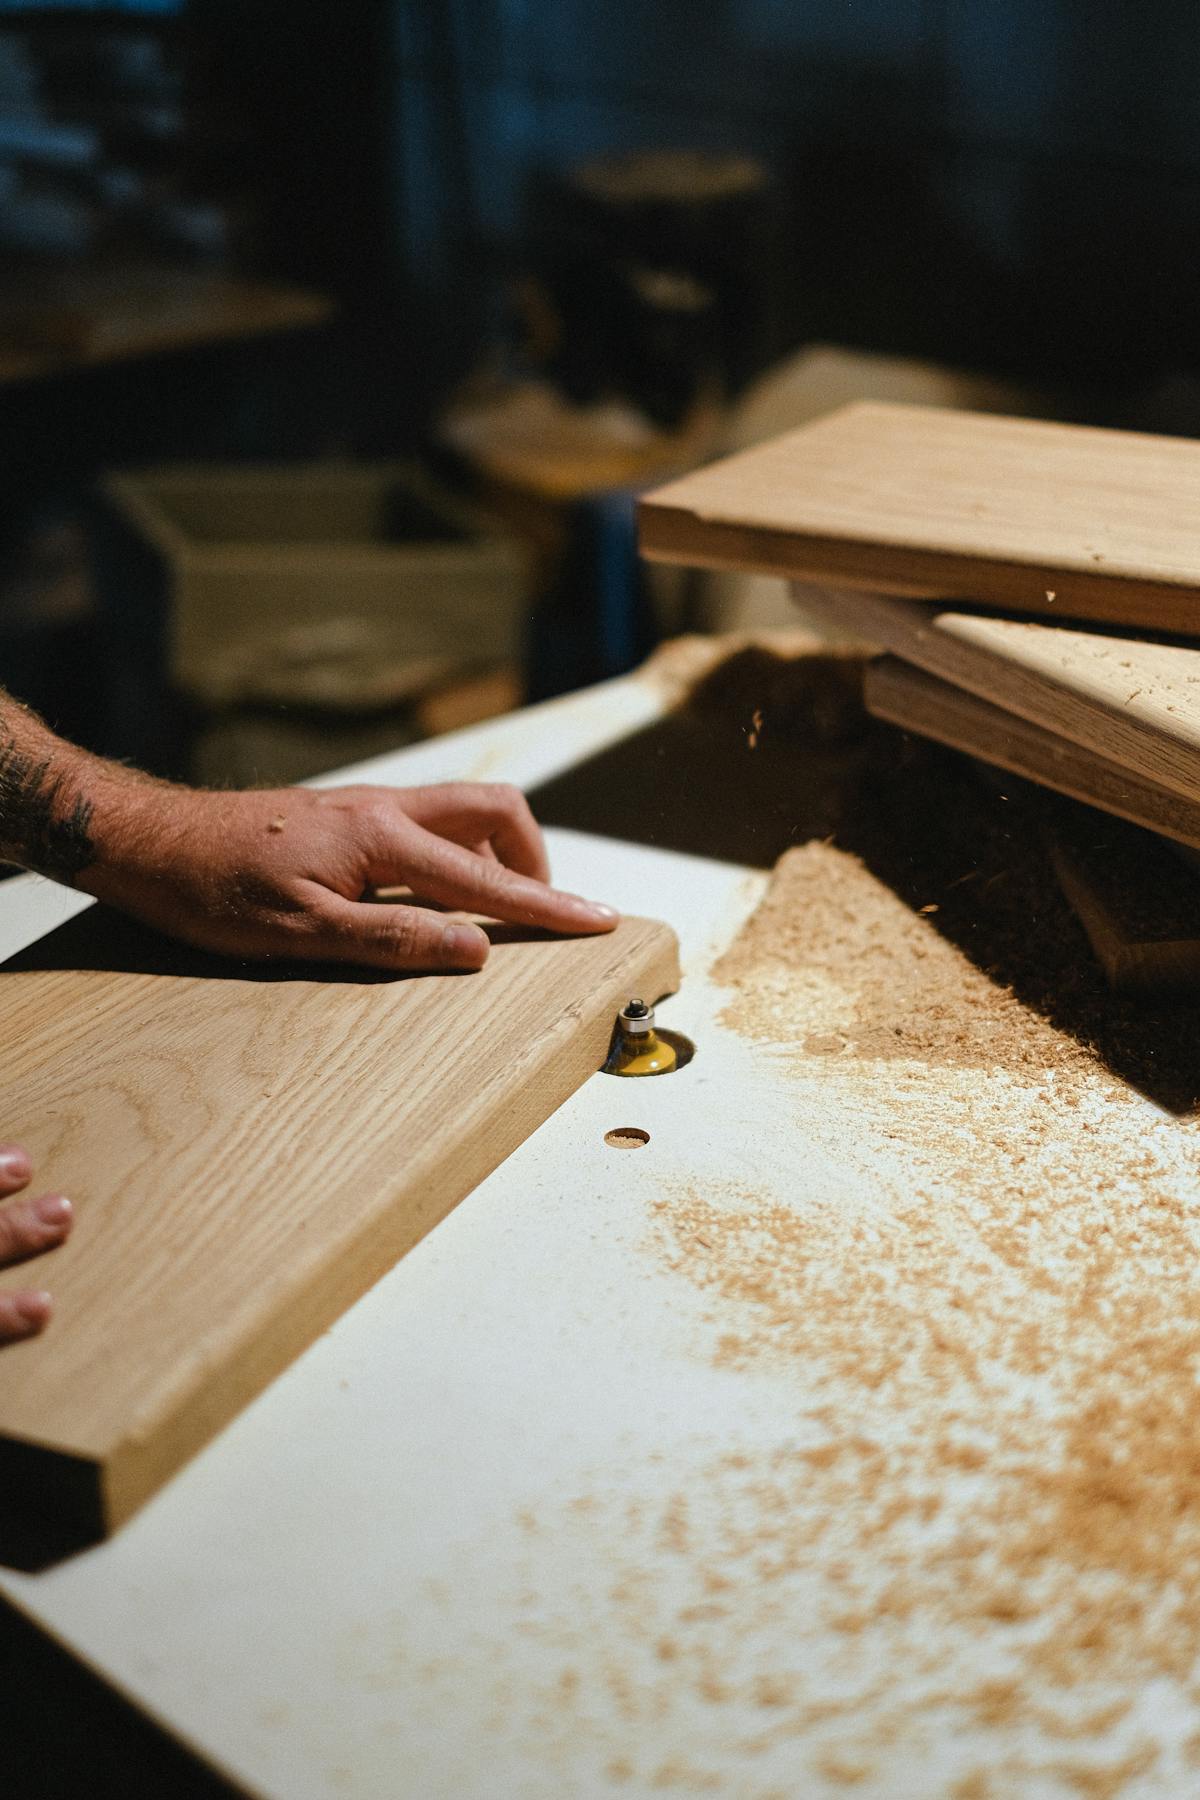
Set your saw blade to the desired rabbet depth. Typically, the depth is one-third the thickness of the wood. Adjust the fence on your saw accordingly. Slide the wood along the fence to make the cut. Turn the wood around and cut the other side to form a L shaped groove. A router with a rabbet bit can also be used for this purpose.
Dry Fit the Pieces
Before gluing, dry fit the pieces together. This ensures all rabbet joints align correctly. Any adjustments can be made now. It’s easier to correct mistakes before glue is applied.
Gluing the Joints
Apply wood glue to the rabbet joints. Fit the pieces together snugly. Use clamps to hold the joints tightly while the glue dries. Allow the glue to set for the recommended time, typically 24 hours. Check the alignment one last time before the glue sets.
Sanding and Finishing
After the glue has dried, remove the clamps. Sand the box to smooth out rough edges and surfaces. Start with coarse sandpaper and progress to finer grits. Ensure all joinery is smooth and flush. Apply a finish, such as varnish or paint, to protect the wood and enhance its appearance.
Benefits of Rabbet Joint Boxes
Rabbet joint boxes are strong and durable. They provide a large gluing surface which adds to the stability. This type of joinery is not only functional but also aesthetically pleasing. The clean lines make for an elegant final product.
Common Uses
Rabbet joint boxes have various applications. They are ideal for creating drawers, cabinets, and storage boxes. Woodworkers use them to create custom furniture. The versatility of this joint makes it a popular choice among woodworkers.
Tips for Beginners
- Practice on scrap wood before starting your project.
- Ensure all measurements are accurate.
- Take your time with cutting and gluing.
- Use sharp tools for cleaner cuts.
- Keep your workspace organized.
Advanced Techniques
Once comfortable with basic rabbet joints, explore advanced techniques. Dado joints can be combined with rabbets for added strength. Splined rabbet joints add decorative touches. Experimentation will expand your skillset.
The rabbet joint box is a foundational project for woodworkers. Mastering it leads to more complex and rewarding projects. With practice, patience, and precision, you can create functional and beautiful wooden boxes.


