How to Hang Shelves without Brackets
How to Hang Shelves without Brackets
Hanging shelves without visible brackets can give your room a clean and modern look. Here’s how you can achieve that.

Materials Needed
- Shelves
- Floating shelf hardware
- Drill
- Level
- Wall anchors
- Screws
Finding the Right Shelf and Hardware
First, select the type of shelf you want to use. Floating shelves come in various materials like wood, metal, or glass. The choice depends on your room’s decor and the weight of items you plan to place on the shelves. Once selected, choose appropriate floating shelf brackets. These brackets are designed to be hidden inside the shelf, providing the illusion that the shelf is floating on the wall.

Measuring and Marking the Wall
Carefully measure the space where you want to hang the shelf. Use a pencil to mark the spots where you will install the hardware. Make sure the markings are level. Use a level to ensure accuracy. Incorrect measurements can lead to uneven shelves, affecting both appearance and functionality.

Drilling Holes in the Wall
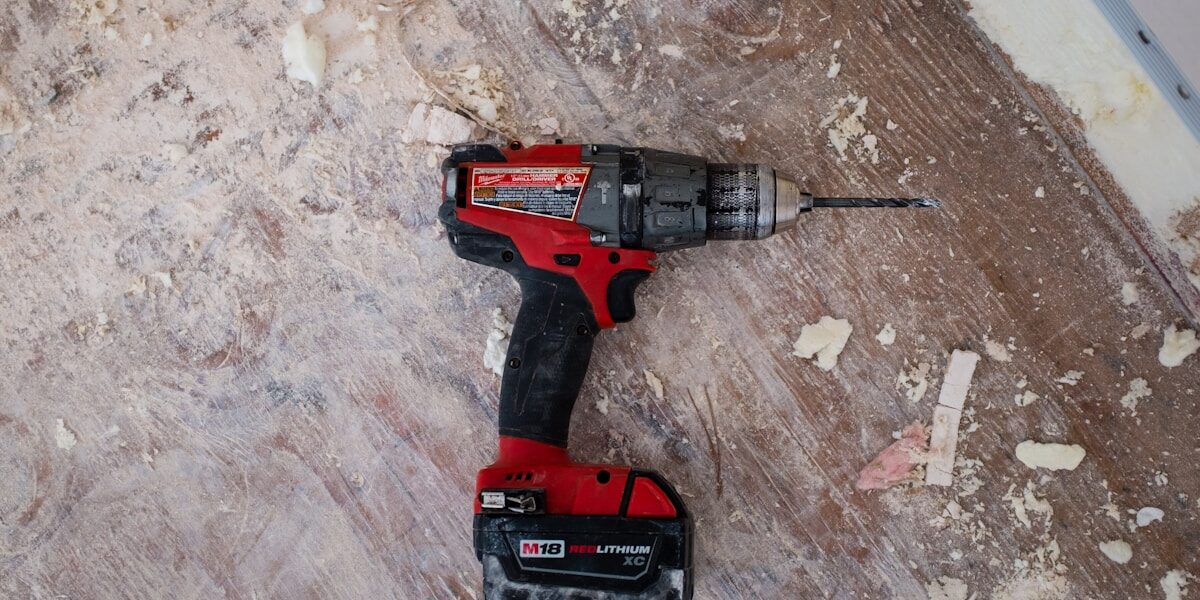
With your markings in place, start drilling the holes for the floating shelf brackets. Ensure the holes are the correct size for your wall anchors. Using a drill that’s too small can make inserting the anchors difficult while a drill that’s too large may cause the anchors to fall out.

Installing Wall Anchors
Insert the wall anchors into the holes you’ve drilled. Wall anchors are important for securely holding the weight of the shelf plus whatever you plan to place on it. Push the anchors into the holes until they are flush with the wall.

Attaching Floating Shelf Hardware
With the wall anchors in place, screw the floating shelf hardware into the anchors. Make sure the hardware is securely attached to the wall. Tighten the screws appropriately to ensure the hardware doesn’t move or wobble.

Preparing the Shelves
Most floating shelves have pre-drilled holes for the hardware. If yours do not, you’ll need to drill these holes yourself. The holes need to match the position and size of the floating shelf brackets. Measure carefully before drilling.

Mounting the Shelves
Once the hardware is attached to the wall and the shelves are prepared, you can slide the shelves onto the brackets. Ensure they slide on smoothly and fit securely. Adjust the shelves as necessary to ensure they are level and stable.

Double-Check Alignment
Before placing items on the shelves, use the level again to double-check that everything is aligned properly. Slight adjustments can be made by tightening or loosening the bracket screws.

Potential Issues and Solutions
Sometimes, wall conditions can cause complications. If you encounter resistance while drilling, you may be hitting a stud or other obstruction. Use a stud finder to locate studs before drilling. If a shelf appears unstable, double-check the wall anchors and screws. Ensure they are installed correctly and chosen for the wall type (drywall, plaster, etc.). For walls that are not perfectly level, adjustable brackets may help in achieving a balanced finish.

Maintaining Your Floating Shelves
Regularly check the stability of your shelves. Over time, screws can loosen, especially if the shelves bear a lot of weight. Tighten the hardware as needed. Dust the shelves and remove items to clean the surfaces thoroughly. Periodic maintenance will keep your shelves looking good and functioning well.

Enhancing the Aesthetic
Consider painting or staining the shelves to match the room’s decor. Adding LED strip lights can create dramatic effects and enhance the visibility of objects on display. Use shelf liners to protect delicate items and prevent them from slipping.

\n\n
Related Articles
\n


