How to Tell Where the Wobble Is Coming From
Drill press wobble has become tricky with all the bad advice flying around. Everyone jumps straight to “replace the chuck” — and sometimes that’s exactly wrong. Wobble can originate from three completely different places, and I’ve wasted money buying parts that had nothing to do with my actual problem. That’s what makes this diagnostic step so important. So, without further ado, let’s dive in.
Here’s what you can run right now, standing at your press.
Install a carbide-tipped or high-speed steel bit — anything between 1/4 inch and 1/2 inch works. Don’t fully tighten it yet. Snug it by hand, belt off, and spin the spindle slowly. Watch the bit tip. Describing a visible circle as it turns? That’s runout. Small circles point to the chuck. Large, lazy circles suggest the spindle bearings are going.
Now tighten the chuck fully and repeat. Rest your fingertip lightly on the bit while the spindle turns. Feel for vibration, side-to-side drift, anything that shouldn’t be there. Runout you can feel is runout you need to fix. Write it down.
Next, test the table. Loosen the locking handle completely and rock the table with both hands — forward, back, left, right, circular. Does it move freely in all directions? Stick at one point? Feel sloppy? A table with play will never drill a straight hole regardless of how perfect the spindle is running.
Note everything: visible runout, felt vibration, table movement. That list tells you where to start. Don’t skip it.
Fixing Wobble Caused by a Loose or Worn Chuck
The easiest fix is the one I most consistently skip. My Clausing 2283 had a nasty wobble last summer — I was convinced the spindle was shot. Pulled the chuck first anyway, mostly out of stubbornness. Found a taper packed with sawdust. That was it.
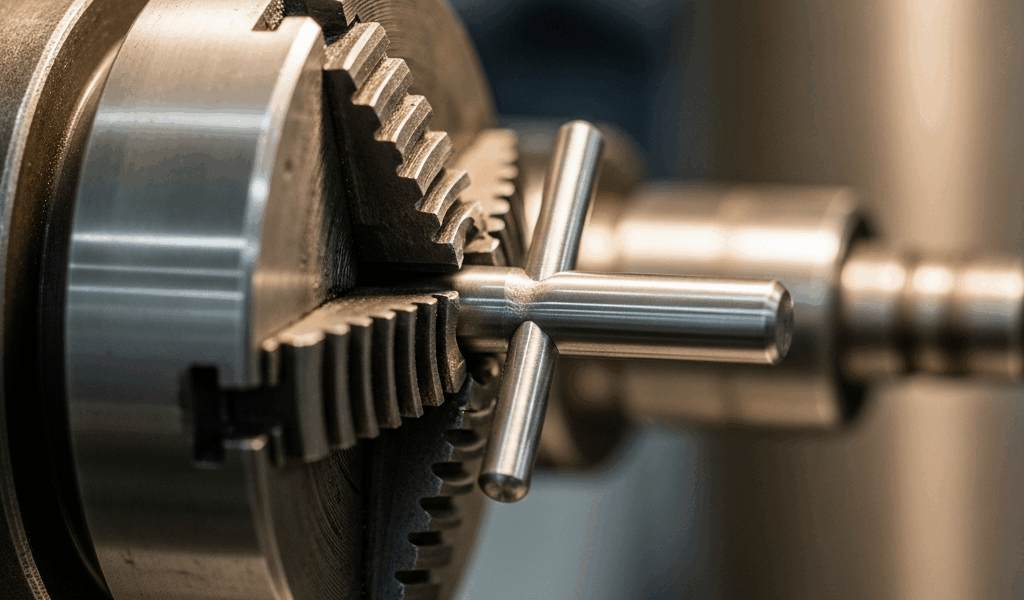
Most drill press chucks seat on a Morse taper — MT2 or MT3 on benchtop machines, MT4 on bigger floor models. Check your manual. The taper is the wedge-shaped socket inside the spindle, and over time it collects dust, chips, and grit. The chuck stops seating fully. Wobble starts. It’s that boring and that fixable.
Here’s how to reseat a loose chuck:
- Remove the belt so the spindle stays put.
- Insert the drawbar from underneath and loosen it fully.
- Pull the chuck straight down out of the spindle.
- Clean the taper with a dry brush or cloth — get into every groove.
- Clean the chuck shank the same way.
- Reinsert the chuck and tighten the drawbar hand-tight.
- Grab a wooden block roughly the size of your fist and set it on top of the chuck.
- Give it one sharp strike with a dead-blow mallet. Not hard. Sharp and decisive.
- Tighten the drawbar completely.
That tap seats the chuck fully onto the taper. I learned this after disassembling a spindle that didn’t need touching. Skip the misstep I made.
If wobble persists after reseating, the chuck itself is worn. Jacobs chucks are standard on most older machines — durable, but not immortal. The internal jaws wear down. The grip loosens. A used Jacobs 33 runs about $45 to $80. New ones land between $120 and $200 depending on size and maker. Replacement is just the removal steps in reverse.
Before spending anything, try the paper trick. Cut a strip of printer paper about 2 inches wide. Loosen the chuck slightly, slide the paper between a jaw and a test bit, then tighten fully. Try pulling the bit free. Comes out easily? The jaws are worn — replace the chuck. Grips hard? The chuck is still good and your wobble is coming from somewhere else entirely.
Fixing Wobble from Spindle Runout
This is where most hobbyists should pump the brakes. Spindle runout means worn bearings or a bent shaft. Either way, it’s the hardest fix and often not worth attempting.
To measure it accurately, you need a dial indicator. Harbor Freight sells a magnetic indicator base kit for around $15 to $20 — the model 69048 has worked fine for me. Mount the indicator so the needle contacts the side of a carbide bit held snugly in the chuck. Rotate the spindle one full turn by hand and watch the needle. Under 0.002 inches is acceptable for hobby work. Anything over 0.005 inches is visible to the naked eye and will wreck hole quality.
Bearing wear is usually the culprit. The spindle rides on ball or tapered roller bearings that degrade with use, and replacing them means disassembling the entire spindle head — belt, pulley, bearing assembly, all of it. You’re looking at six to ten hours of work plus $50 to $150 in bearing kits depending on the machine.
Honest assessment: if the press cost you $300 used and the rebuild runs $100 plus a full day, you’re probably not getting that back. A worn-out $300 machine will never be precision equipment regardless. Now — if it’s a vintage cast-iron Clausing or a Delta that you use constantly, the rebuild makes sense. Those are worth saving.
Before tearing into anything, pull the chuck entirely and recheck runout. Runout disappears without the chuck? You already have your answer. Still there with the chuck off? That’s the spindle bearings.
Fixing a Drill Press Table That Is Out of Trammel
Worth saying out loud. Table wobble is not spindle wobble — and I see people confuse these constantly. The table can be perfectly square to the spindle and still move in its slots. The spindle can be dead straight while the table tilts. They’re separate problems with separate fixes.
To test table trammel, stick a small piece of masking tape on the spindle directly under the chuck. Spin it by hand and mark the tape. Lower the spindle until a bit or steel rod just touches your marked spot, then lock the spindle there. Move the table up and down on its vertical adjust. The bit should maintain contact with that marked spot through the whole range of motion. Loses contact? The table is tilted.
Squaring it up: loosen the locking handle completely and place a try square against the spindle and the table surface — you’re looking for a true 90-degree angle. The table has adjustment bolts underneath or on the sides depending on the model. Loosen them slightly and tap the table with a wooden block until the square reads true. Tighten the adjustment bolts, recheck with the square, then lock the handle firmly.
Nine times out of ten when someone complains about drill press wobble, the table is out of square and the spindle is completely fine. That’s what makes this the fix worth checking first.
When to Stop Fixing and Start Replacing
A well-maintained drill press holds 0.005-inch tolerance and bores clean holes all day. A worn-out one won’t — and no amount of tuning changes that.
If your diagnostic showed spindle runout over 0.010 inches and bearing replacement would cost more than half the machine’s used value, stop. You have your answer. Sell it and put that money toward something better.
Same logic applies if the table has multiple worn adjustment points and rocks regardless of how you torque the lock. That’s fatigue in the casting — it won’t improve, ever.
But if you’ve reseated the chuck, squared the table, and the press is running true? Keep it. That machine has years left. Sometimes the fix really is just cleaning a taper and tapping a wooden block.


Stay in the loop
Get the latest the workshop journal updates delivered to your inbox.