The Versatility of Kreg Pocket Hole Screws
Pocket hole joinery has gotten a lot of airtime in the woodworking world lately, with opinions flying around about whether it’s “real” joinery or a shortcut. Today, I will share it all with you.
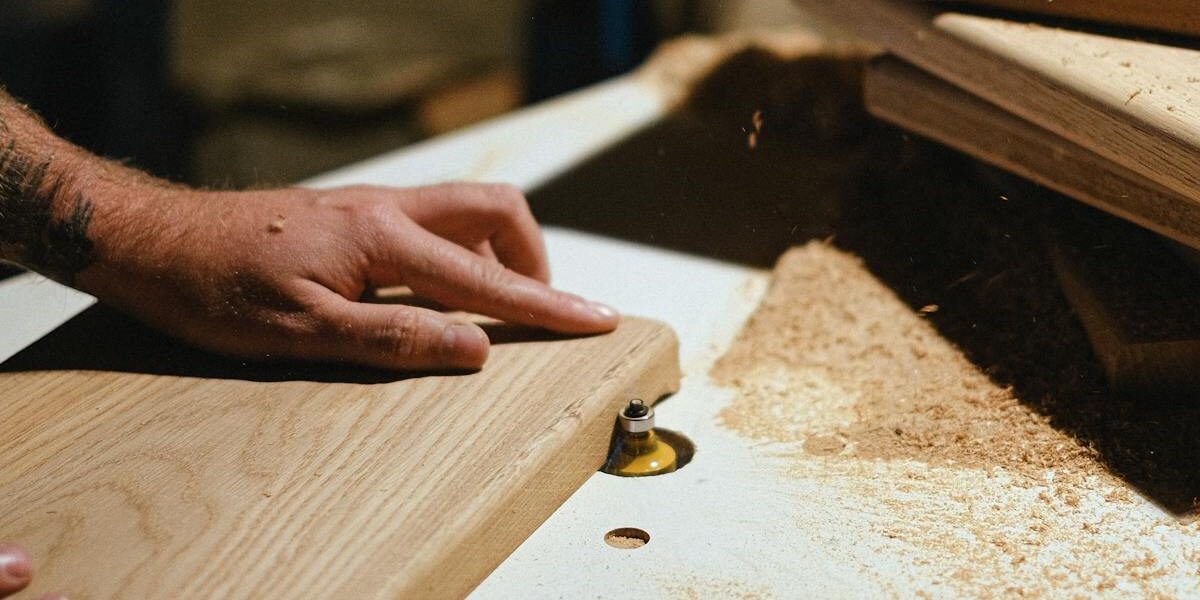
Understanding Pocket Hole Joinery
The concept is simple: drill an angled hole into one workpiece, then drive a screw through that hole into the mating piece. No mortise, no tenon, no dowel. Done right, the joint is strong, the assembly is fast, and the screw is hidden from the front face.
Features of Kreg Pocket Hole Screws
Kreg designs their screws specifically for this application, and the details matter. The self-tapping tip bites into the wood without pre-drilling a pilot hole in the second piece, which saves a real amount of time across an entire project. The square-drive head keeps your driver bit from camming out mid-drive — I’m apparently a square-drive convert at this point, and Phillips drivers for furniture assembly never really work for me anymore. The washer head is the other key feature: that wide flat underside prevents the screw from pulling through the pocket hole, which is especially important in softer woods and plywood.
Thread type matters too. Coarse threads are for softwoods — pine, cedar, poplar. They bite aggressively into softer fibers and hold well. Fine threads are for hardwoods — oak, maple, hard maple — where the wood is dense enough that coarse threads can actually split the grain if you’re not careful. Kreg labels their screw packages clearly by thread type, so there’s no guessing.
Using Kreg Pocket Hole Screws in Projects
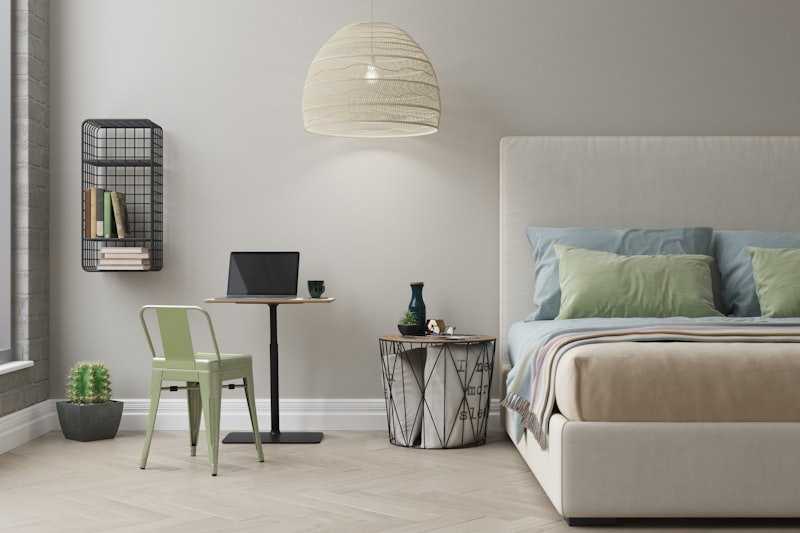
Cabinets and face frames are where I use pocket screws the most. The Kreg jig lets me knock out a face frame in under an hour that would take significantly longer with traditional mortise and tenon work. For furniture — beds, benches, basic tables — pocket screws work great for the structural connections that won’t be visible. I wouldn’t use them for a heirloom dining table where long-term racking stress matters, but for a shop bench or a set of garage cabinets they’re completely appropriate.
Choosing the Right Screw Length
The rule I follow is: screw length equals the thickness of the material you’re drilling into, plus about an inch. For 3/4-inch plywood, that means 1-1/4 to 1-1/2 inch screws depending on what you’re joining into. The Kreg jig guide printed on the side of the jig itself covers most common material thicknesses, and I’d suggest just following that chart rather than trying to figure it out yourself the first few times. It’s there for a reason.
Matching Screws to Material Types
Softwoods like pine want the coarse-thread version — the aggressive thread profile grips without splitting as long as you’re not over-driving. Hardwoods like oak and maple need the fine-thread screws; the finer pitch gives you more thread engagement without stressing the dense grain. Plywood and particleboard work well with coarse threads because the manufactured fibers respond well to that aggressive grip. MDF is trickier — it doesn’t hold screws as well as real wood, and pocket holes in MDF edge grain have limited strength, so I reinforce those joints with glue whenever possible.
Benefits of Using Kreg Pocket Hole Screws
Speed is the obvious one — no clamping and waiting for glue if you’re doing dry assembly, and even glued joints don’t need clamps when the screws are holding the pieces together while everything dries. The hidden fastener aspect keeps the finished look clean. And if you ever need to disassemble a piece for modification or repair, pocket screws come out. Try that with a mortise and tenon.
Getting the Most Out of the Jig
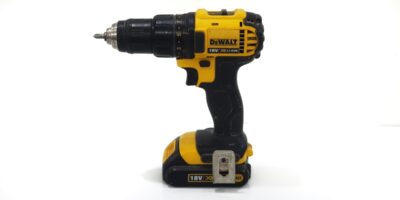
Clamp your workpieces before driving any screws. This seems obvious but skipping it is a very common beginner mistake — the screw drives the second piece sideways as it threads in if you’re not holding things together. Use the step drill bit that Kreg sells specifically for their jig; standard bits give you the wrong geometry and the pocket holes won’t hold properly. And set your drill stop collar for the material thickness you’re working with. That setting controls how deep the pocket goes, and getting it wrong means either a screw that doesn’t reach or one that blows through the face.


Stay in the loop
Get the latest the workshop journal updates delivered to your inbox.