Understanding Crown Molding
Crown molding coping has gotten a reputation as one of those skills that separates real finish carpenters from hobbyists. As someone who installed crown in every room of an old house with walls that were never, ever square, I learned every technique and shortcut available. Today I’ll walk through what actually works when the walls aren’t cooperating.

Preparing for Installation
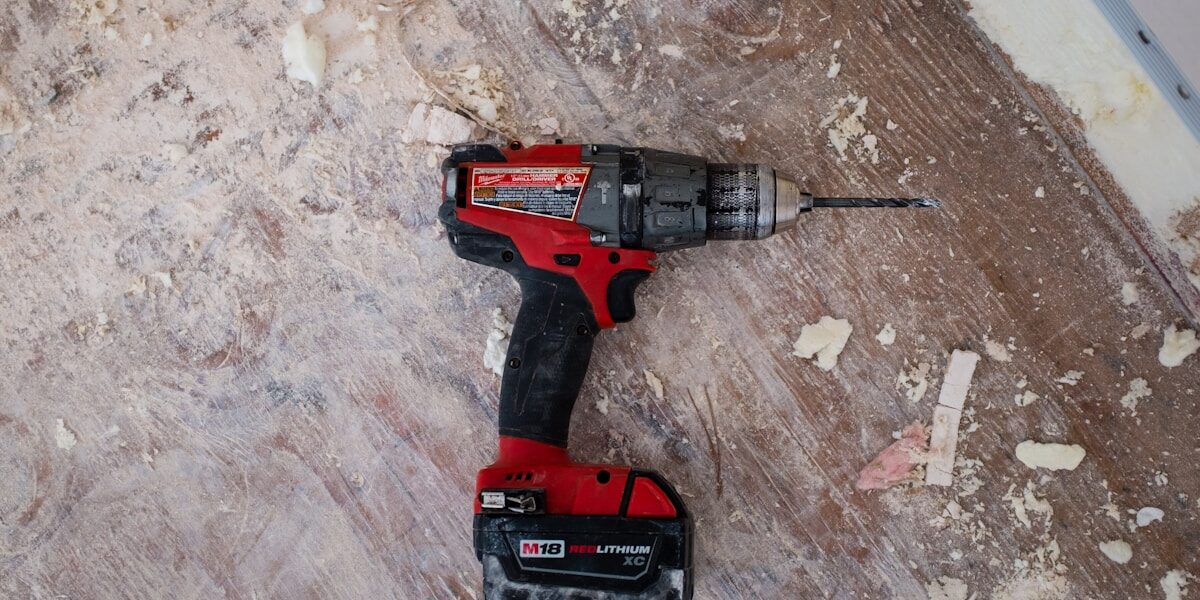
Before touching the molding, inventory your tools. You’ll need a miter saw, a coping saw, sandpaper in 100 and 150 grit, measuring tape, a pencil, and eye protection. A sharp coping saw blade matters more than most people think — a dull blade wanders and tears. Replace it before you start if there’s any doubt.
Measure each wall where crown will go. Note which joints require coping — inside corners always get coped, outside corners typically get mitered. Mark your measurements on a simple sketch and work around the room in one direction consistently.
Understanding Coping
Coping is a joint technique where one piece of molding is cut to the profile of the adjacent piece rather than mitered to meet it at 45 degrees. The first piece installs square to the wall. The second piece is shaped to overlap and fit against the face of the first piece.
Why cope instead of miter? Coped joints accommodate walls that aren’t square, which is basically all walls in any house more than a few years old. They also look tighter over time — mitered joints open as wood moves seasonally, while coped joints tend to stay closed.
Using a Miter Saw
Start by cutting the first piece of molding flat to length with a 90-degree square cut. This piece gets nailed into the corner and requires no special cuts. Hold it tight to both the wall and ceiling to mark any adjustments needed for the room’s actual geometry.
For the coped piece, begin by cutting it at 45 degrees to reveal the molding’s profile. Here’s where people get confused: position the molding in the saw the same way it will sit on the wall — spring angle and all — and make an inside miter cut. This exposes the profile line you’ll follow with the coping saw.

Coping Techniques
With the profile exposed, use the coping saw to cut along the profile line. Hold the saw at a slight back-bevel — maybe 5 degrees behind the face. This back cut ensures the visible edge is crisp while the back of the joint has clearance. Following the profile precisely takes practice; your first few copes will probably need touch-up.
Angle the saw toward the waste side of the cut. Short, controlled strokes give more accuracy than aggressive cutting. The profile on crown molding typically includes both curved and straight sections — the curved portions are harder, so slow down there.
Fitting the Pieces
Place the coped piece against the installed piece and check the fit. A tight cope with no visible gaps is the goal. Most first attempts need adjustment. Use sandpaper or a small rasp to fine-tune specific spots where the fit is off — you can see daylight through those gaps if you look carefully before fastening.
The back-bevel helps here: because only the front edge bears against the adjacent piece, small fitting issues on the back portion of the joint don’t matter.
Dealing with Imperfections
Walls and ceilings are rarely flat or square. Use paintable caulk for gaps at the ceiling and wall lines after installation — this is standard practice even in high-end work. Probably should have mentioned this earlier: caulk is not cheating, it’s what finish carpenters have always done to achieve that seamless look. No gap between crown and ceiling should be wider than what caulk can bridge gracefully.
For joint gaps where the cope didn’t come out tight, wood filler works if the piece will be painted. For stained wood, matching filler or careful re-coping is the only real option.
Painting or Staining
Pre-priming the molding before installation saves significant masking time. Brush two coats of primer on all sides, let dry completely, then lightly sand with 150-grit before nailing. A quick touch-up after installation and caulking, then final topcoat in place. This approach is faster and produces better results than trying to cut in ceiling paint against installed primed molding.
Securing the Molding
Nail into studs and ceiling joists for maximum hold. Use a stud finder or probe with a small nail to locate framing before starting. Finish nails or a 15-gauge nailer work well. Set nails slightly below the surface and fill the holes with lightweight spackle or wood filler.
Maintenance and Upkeep
Painted crown needs periodic touch-up as the house moves and small cracks open at joints. Caulking joints annually in the first few years of a new installation prevents the cracks from becoming gaps. Once the house settles and wood stabilizes, touch-ups become much less frequent.


Stay in the loop
Get the latest the workshop journal updates delivered to your inbox.