#69 As someone who has fixed faucets, patched walls, built shop furniture, and learned which tools earn their drawer space through years of actual use, I learned everything there is to know about setting yourself up to handle whatever the house or shop throws at you. Today, I will share it all with you.
This article includes affiliate links. We may earn a commission at no extra cost to you.

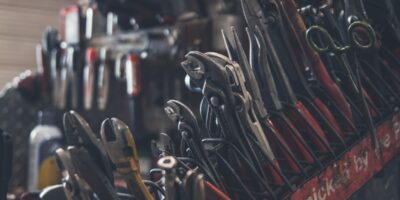
Essential Tools for Every Handyperson
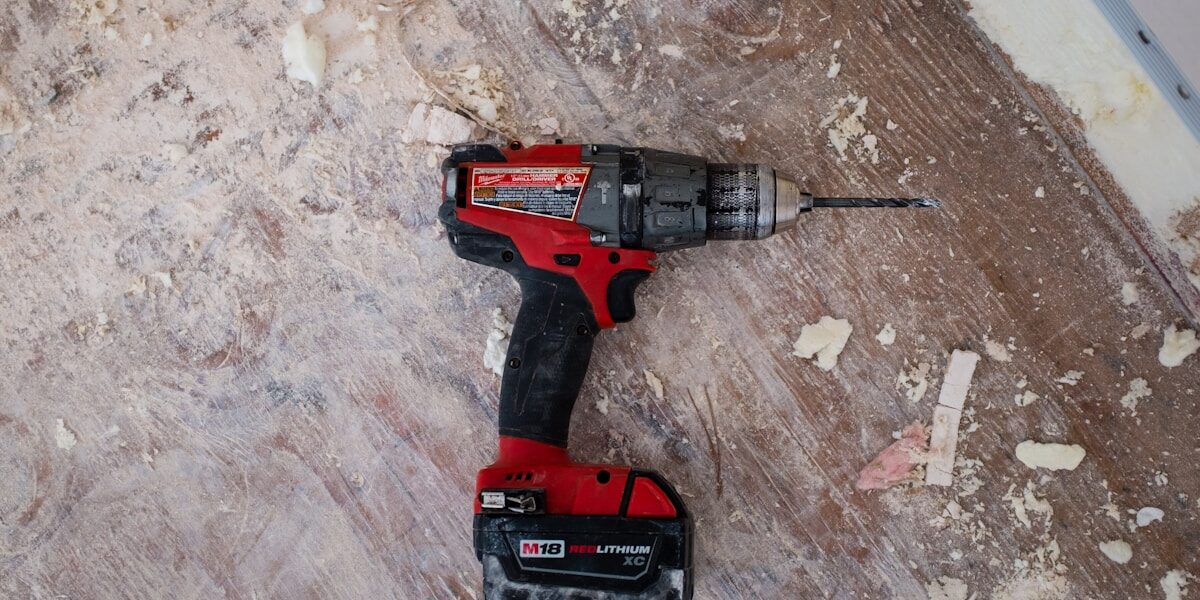
A hammer handles driving and pulling nails and shows up in more situations than you’d expect. A quality adjustable crescent wrench covers most plumbing and mechanical fastening. A matched set of flathead and Phillips screwdrivers is necessary for almost everything, though a set of six-in-one drivers consolidates nicely. Pliers in needle-nose and slip-joint versions handle gripping, bending, and tight-space work that nothing else reaches. A sturdy measuring tape with a quality hook is the tool you reach for before you do almost anything else — precision at the measurement stage prevents problems at every stage after it. A utility knife earns its place cutting cardboard, scoring drywall, and dozens of other tasks. A torpedo level keeps things straight and balanced, which matters more for mounting and carpentry than most beginners realize. A cordless drill with a driver-bit set speeds up almost every fastening task and quickly becomes indispensable.
Organizing Your Toolkit
Organization saves time and reduces frustration that builds when you can’t find what you need mid-project. I’m apparently someone who labels every section of the toolbox and puts things back in the same spot every time, and that consistency works for me while a jumbled drawer never quite gets better on its own. Start with a sturdy toolbox and designate one location for each tool type — screws sorted by size and type in labeled bins, nails and brads in their own containers. Clean tools regularly and store them dry to prevent rust. A tool that’s cared for is a tool that works when you reach for it.
Basic Household Repairs Every Handyperson Should Know
Several repairs crop up so frequently that knowing them is simply practical maintenance literacy.
Fixing a Leaky Faucet
Turn off the water supply at the shutoff valve under the sink before opening anything. Remove the faucet handle and inspect the cartridge — most modern faucet leaks trace back to worn O-rings and washers rather than the cartridge itself. Replace what’s worn, reassemble in reverse order, turn the water back on, and check under the supply lines and around the base. Most faucet repairs take under an hour with basic tools and a parts kit that costs less than a plumber’s minimum service charge.
Patching Holes in Drywall
Clean the hole area and remove any loose material. For small holes, a self-adhesive wall patch covers the hole while giving the joint compound something to bond to. Apply compound with a putty knife in thin coats, feathering the edges wider than the patch. Sand smooth once fully dry — rushing this step shows in the final paint. Spot-prime the patch before painting to prevent the repaired area from flashing through the finish coat.
Unclogging Drains
Remove any visible blockages at the drain opening first. A plunger handles most clogs with some committed effort — use a flat-bottomed cup plunger for sinks and a flange plunger for toilets, and seal any overflow opening before plunging. If the plunger doesn’t clear it, a plumbing snake gets into the trap and further into the line. Avoid chemical drain cleaners — they’re hard on older pipes, rarely solve the underlying problem, and leave a caustic mixture in the pipe that becomes a hazard if you end up snaking anyway.
Maximizing Efficiency with Handy Tips
Efficiency comes from working smart rather than working harder. Using the right tool for the specific task isn’t just faster — it produces better results and reduces the chance of damaging what you’re working on. Measure twice before cutting or drilling anything. That old rule survives because mistakes made at the measurement stage multiply through every step that follows. Keep a first aid kit stocked and accessible — even careful workers get cut or pinched, and having supplies immediately at hand matters more than you think when you need them.
Sustainable Practices in DIY and Repairs
Before buying new materials for a repair or small project, check whether you have usable scraps or salvageable pieces from previous work. Reusing materials saves money and reduces waste in a practical way that adds up over years of accumulated projects. Choose paints, glues, and finishes labeled low-VOC or non-toxic when the application allows — they perform comparably to older formulations in most cases and are meaningfully better for air quality in enclosed spaces. When replacing fixtures or appliances, energy-efficient options reduce operating costs over their lifetime in ways that offset the higher initial price.
Learning and Improving Your Skills
There’s always more to learn, and the best time to build a new skill is before you need it urgently. YouTube has genuinely transformed DIY skill-building — watching hands make cuts or set valves teaches better than any diagram ever did. Forums and social media groups connect you with people who have solved the exact problem you’re facing. Local hardware stores often have staff with deep practical knowledge who will answer questions if you ask. And nothing replaces actually doing the work — taking on small projects builds competence that carries over to larger ones.
Safety Considerations
Safety glasses, gloves, and appropriate protective gear make the difference between minor incidents and real injuries. Wear them consistently rather than selectively. Read tool manuals before using unfamiliar equipment — incorrect usage causes most tool-related accidents, and the manual explains the non-obvious hazards. Keep your workspace clear of trip hazards and clutter, and clean up tools and materials at the end of each session. A tidy workspace is a safer workspace, and it also means you start the next session ready to work rather than spending the first twenty minutes searching for what you need.
Budgeting for DIY Projects
Accurate cost estimation prevents the mid-project trip to the hardware store that disrupts momentum and frequently runs over budget. Make a detailed list of materials and tools needed, research actual prices rather than guessing, and add a buffer for the unexpected expenses that accompany most projects. Investing in quality tools pays off over time — a quality drill lasts decades while a bargain version may fail within a year of regular use. Know your limits honestly: sometimes hiring a professional for a specific task is more cost-effective than attempting it yourself, making mistakes, and hiring someone to fix both the original problem and what went wrong in the attempt.


Stay in the loop
Get the latest the workshop journal updates delivered to your inbox.