Understanding Clear Coat for Wood
Clear coat options for wood have gotten confusing with polyurethane, varnish, lacquer, shellac, and oil-based versus water-based versions of everything flying around the finishing aisle. As someone who has sprayed, brushed, and wiped finishes onto furniture, floors, outdoor structures, and everything in between, I learned which clear coats actually work for which situations. Today, I will share it all with you.

Types of Clear Coats
The choice between clear coat products is really a choice between different trade-offs: durability versus ease of application, build-up versus penetration, hardness versus repairability. Understanding what each product actually does makes the choice much clearer.
1. Polyurethane
Polyurethane is the go-to protective finish for anything that takes daily abuse — furniture, floors, kitchen surfaces. Oil-based polyurethane gives the wood an amber warmth that many people find beautiful on walnut or cherry, deepening the color in a way water-based finishes don’t. Water-based polyurethane dries crystal clear and doesn’t yellow over time, which matters on maple and lighter species where that amber cast would look wrong. I’m apparently an oil-based person for furniture and water-based for light-colored woods; that combination works for me while using oil-based on light maple never gives me the clean look I want. Both require light sanding between coats — 320 grit does it — and three coats minimum for real durability.
2. Shellac
Shellac has a legitimate place in the finishing toolkit even though it gets overlooked in favor of tougher modern products. It goes on fast, dries fast, and creates a warm amber film that looks beautiful on antique furniture and older wood with character. The limitation is real: shellac is not waterproof and it’s not heat resistant. A hot mug will leave a ring in shellac immediately. For pieces that see food, drinks, or heat, shellac is a bad choice as a final finish — but as a sealer coat under polyurethane, or as the primary finish on a decorative piece that lives on a bookshelf and never sees a wet glass, it’s excellent.
3. Lacquer
Lacquer gives you the fastest drying time of any film finish and a genuinely excellent surface when sprayed well. I’ve used it on production-type shop projects where I needed a lot of pieces finished quickly — the fast dry time means you can apply multiple coats in a single day without waiting for cure time between each one. The downsides: lacquer is sensitive to scratches, it’s not the most chemical-resistant finish, and spraying it requires ventilation and fire safety awareness since the solvents are very flammable.
4. Varnish
Traditional varnish — the kind with resin, drying oil, and solvent — is the right answer for outdoor wood and anything that needs to live through UV exposure, moisture, and temperature swings. Spar varnish especially is formulated for the kind of flexing that happens when wood absorbs and releases moisture seasonally, which is why it’s used on boat trim and exterior furniture. It builds slowly and takes time between coats, but the resulting film is tough and long-lasting in conditions that would destroy lacquer or shellac quickly.
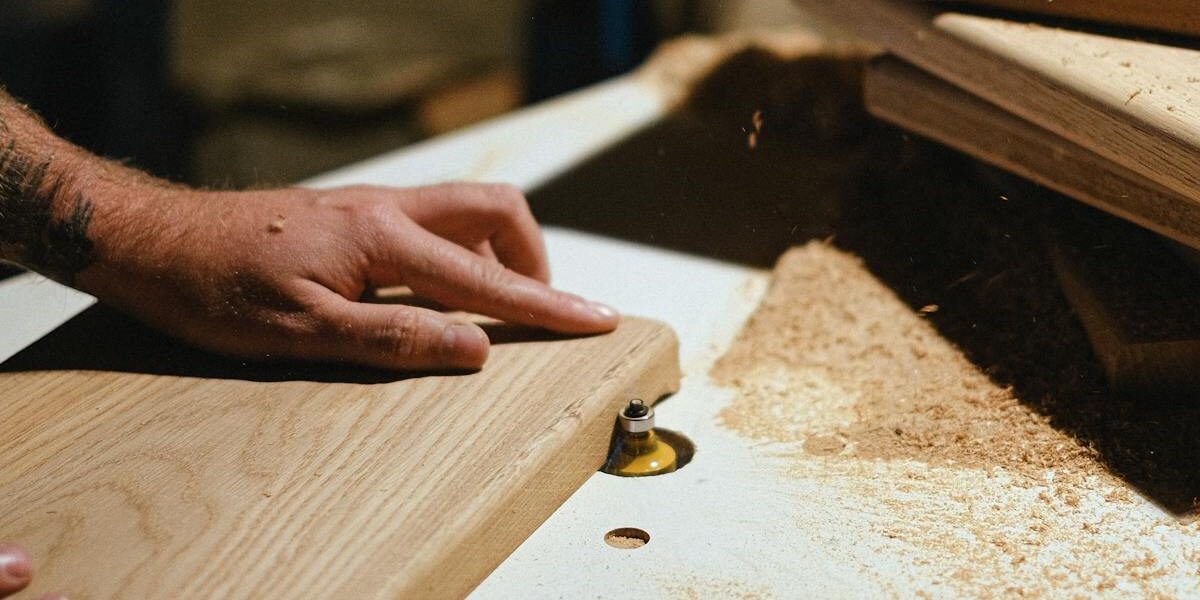
Preparation for Applying Clear Coat
Surface prep before finishing is where the final look is actually determined. Sand through 150 or 180 grit, raise the grain with a damp cloth and let it dry, then sand again lightly with 220. Wipe the surface with a tack cloth before every coat application to remove sanding dust — even tiny particles under a clear coat show as bumps in the cured film. Work in a dust-free environment as much as possible and let the shop settle for 30 minutes after sweeping before you start spraying or brushing.
Application Techniques
Brushing
Brushing works well for varnish, polyurethane, and shellac. Use a quality natural-bristle brush for oil-based products and a synthetic brush for water-based. Apply with long strokes going with the grain, maintain a wet edge, and don’t overwork the finish — that’s what causes brush marks. Tip off with the grain direction at the end of each pass to lay the surface flat.
Spraying
Spraying gives you the smoothest possible film finish with no brush marks and uniform coverage across complex shapes. Lacquer was designed for spray application. An HVLP gun with water-based polyurethane produces excellent results too with proper thinning. Practice on scrap before spraying your actual project — spray technique takes some repetition to get right, and the first few passes on scrap are always a bit rough.
Wiping
Wiping finishes — wiping varnish, oil-based poly thinned 10 to 15 percent, Danish oil — give you thin, penetrating coats that are the easiest to control and repair of any clear coat option. You build up slowly with multiple thin coats rather than a few thick ones. The result doesn’t have the surface durability of a built-up film finish, but it looks beautiful and any ding or scratch repairs with just another coat rubbed in.
Maintenance of Clear Coats
Clean finished surfaces with a damp cloth and very mild soap when needed, then dry immediately. Avoid anything abrasive on the surface. Water-based finishes can be touched up easily by scuff-sanding and adding a fresh coat; oil-based products are harder to recoat without compatibility issues once fully cured, so plan the finish system from the beginning rather than improvising later.


Stay in the loop
Get the latest the workshop journal updates delivered to your inbox.