Router Table Insert: Essential Guide
Router table inserts have evolved with all the choices, compatibility concerns, and upgrade paths flying around. Today, I will share it all with you.

The insert plate is the unsung component of a good router table setup. Most people obsess over the router itself — and the router matters — but the insert plate is what determines whether your setup is rock-solid and accurate or wobbly and frustrating. I’ve run the same Bosch 1617 router in three different tables with three different insert plates, and the plate made more difference than anything else.
Understanding Router Table Inserts
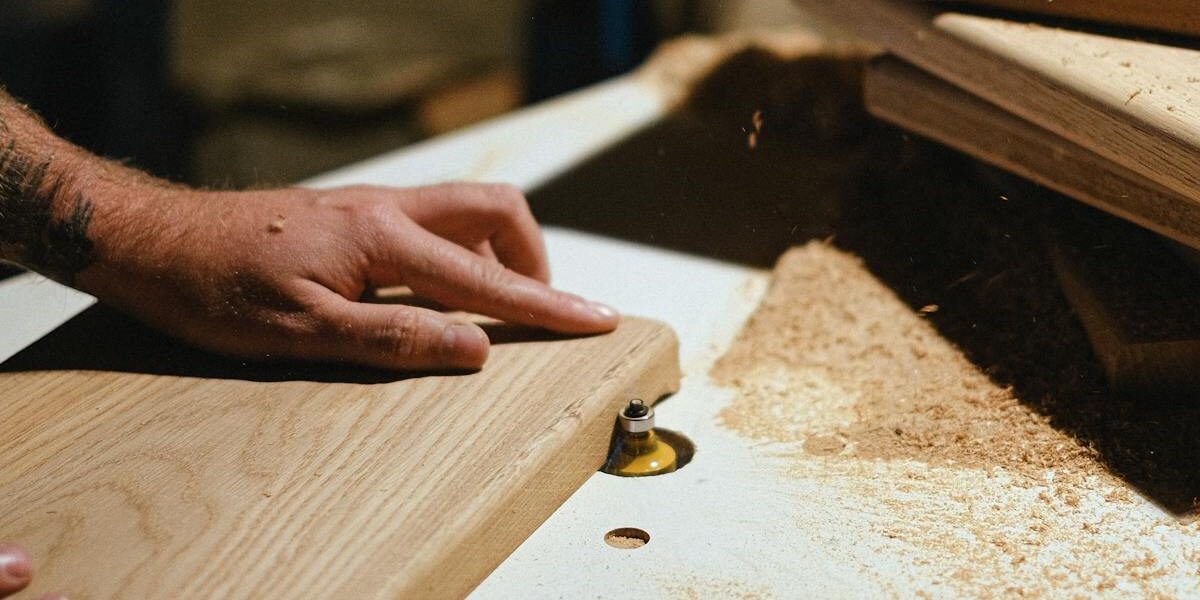
The insert plate is the flat panel that sits in the opening of your router table, holding the router below the surface. Your bits poke up through a center hole, and rings of different diameters let you change the opening size to match whatever bit you’re running. A large opening for a straight bit wastes nothing, but for a small detail bit, you want a smaller opening that supports the workpiece close to the cut.
The plate needs to be dead flat — any flex or bow will cause the workpiece to rock as it crosses the plate, which shows up as inconsistency in the profile you’re routing. If you’ve ever routed an edge profile and noticed it’s slightly different depth in the middle versus the ends of the board, a flexing insert plate is often the culprit.
Materials
Phenolic is my preferred insert material and what I recommend to anyone asking. It’s dimensionally stable, doesn’t absorb moisture and warp the way MDF does, and machines cleanly when you need to drill or modify it. My current phenolic plate has been in service for four years through probably a thousand hours of routing and it’s as flat today as the day I installed it.
Aluminum plates are the upgrade path from phenolic — stiffer, very stable, and they feel premium. The Woodpeckers aluminum inserts are genuinely beautiful pieces of machining, and if you’re building a high-end router table, they’re worth the price. For most home shops, the cost difference over phenolic is hard to justify unless you have very specific needs.
Plastic inserts are the entry level. They work adequately for light use but can flex under larger bits or deeper cuts. If you’re doing occasional light routing — small roundovers on drawer fronts, for example — a plastic insert is fine. If you’re panel-raising or running large raised panel bits, step up to phenolic or aluminum. I’m apparently someone who bought the plastic insert first and then replaced it after exactly one session with a large panel-raising bit.
Standard vs. Lift Inserts
A standard insert holds the router in place and you adjust bit height by reaching under the table and turning the router’s height adjustment mechanism by hand. This works fine, and plenty of good routing happens this way. The limitation is that fine height adjustments are hard to make precisely when you can’t see the bit and the work at the same time.
A router lift integrates a height-adjustment mechanism that you operate from above the table with a crank or a T-handle. You can dial in exact height while watching the bit, make micro-adjustments between test cuts, and change bits from above without reaching under the table. If you do any amount of profile work where you’re sneaking up on a final dimension with multiple test cuts, the lift pays for itself in time and frustration savings. The Jessem and Woodpeckers lifts are the most popular for home shops and both are excellent.
Compatibility
This is where people get tripped up. Not all inserts fit all routers and not all inserts fit all tables. Before buying anything, know three measurements: your router’s base diameter and mounting hole pattern, the dimensions of your table’s insert opening, and the plate thickness your table’s insert supports accept. Most quality insert plates come with manufacturer-supplied instructions and a set of templates for common router bases.
The good news is that the major plate manufacturers — Woodpeckers, Bench Dog, Jesssem, Kreg — all maintain compatibility charts on their websites. Check those before ordering. I’ve seen people buy a beautiful insert plate only to discover it doesn’t match their table’s opening, or that their router base requires a template the manufacturer doesn’t include.
Installation Process
Get the insert level with the table surface before you do anything else. Most inserts have four small leveling screws at the corners that let you micro-adjust the plate flush with the table. Use a straightedge across the plate and table surface — you want the plate at or very slightly below table level, not above it. A plate that sits high will catch workpieces as they cross from the table onto the insert.
Secure the router to the plate before dropping the assembly into the table. You’ll thank yourself for doing it this way — accessing the mounting screws is much easier with the plate on your bench than with it installed in the table. Most routers mount with three or four screws through the base; just make sure they don’t protrude above the plate surface.
Pre-Drilled Holes and Ring Sizes
The ring system is one of the most useful features on a quality insert. My Woodpeckers plate came with four rings: 1 3/4 inch, 2 1/8 inch, 2 3/8 inch, and a full-open configuration. The smallest ring is what I use for most fine profile work — it keeps the workpiece supported right at the bit, which is important for controlling small pieces safely. The open center comes out when I’m running large drawer-lock or raised-panel bits.
Keep the rings clean and check that they seat fully. A ring that’s slightly tilted will rock as your work passes over it, and you’ll feel that in the cut. A wipe with a shop rag and a drop of paste wax on the mating surfaces keeps them seating cleanly.
Leveling the Insert
An unlevel insert causes every profile you cut to be slightly inconsistent. Set the insert, put a precision straightedge across it in multiple directions, and turn the leveling screws until there’s no rocking and no light gap. Takes five minutes. Makes a real difference in every piece of routing you do afterward.
Maintenance
Wax the plate surface regularly. Paste wax on a phenolic or aluminum plate reduces friction, keeps the surface clean, and extends the life of the plate. I do this every few months, more often in summer when the shop gets humid and wood tends to stick more. A waxed plate means your work glides smoothly from table to insert without catching, which matters for consistent cuts.
Clear the center hole and rings of pitch and dust buildup periodically. Resinous woods — pine and cherry especially — leave deposits around the bit opening that can cause the rings to stick or not seat properly. A chisel and some solvent clears it out easily.
Using the Insert
Always test on scrap before routing actual stock. Set the bit height to your best estimate, run a test piece, measure or eyeball the result, adjust, and test again. With a router lift this is fast and easy. Without one, it’s still worth the extra passes on scrap to get the height right before committing to your good material.
Use featherboards to keep your work pressed down onto the plate and against the fence. The combination of consistent downward and lateral pressure is what gives you consistent profile depth. Without them, any variation in how you’re pushing the work will show in the finished cut.
Advantages of Router Table Inserts
A quality insert transforms your router table from a tool that’s sometimes accurate to a tool that’s reliably accurate. The precision of the ring system, the stability of a flat plate, and the consistency of a properly leveled installation combine to make your routing predictable and repeatable — which is ultimately what good woodworking is about. Use push sticks and featherboards, wear eye and hearing protection, and your router table with a proper insert will be one of the most useful setups in your shop.


Stay in the loop
Get the latest the workshop journal updates delivered to your inbox.