Plywood Edge Banding: A Comprehensive Guide
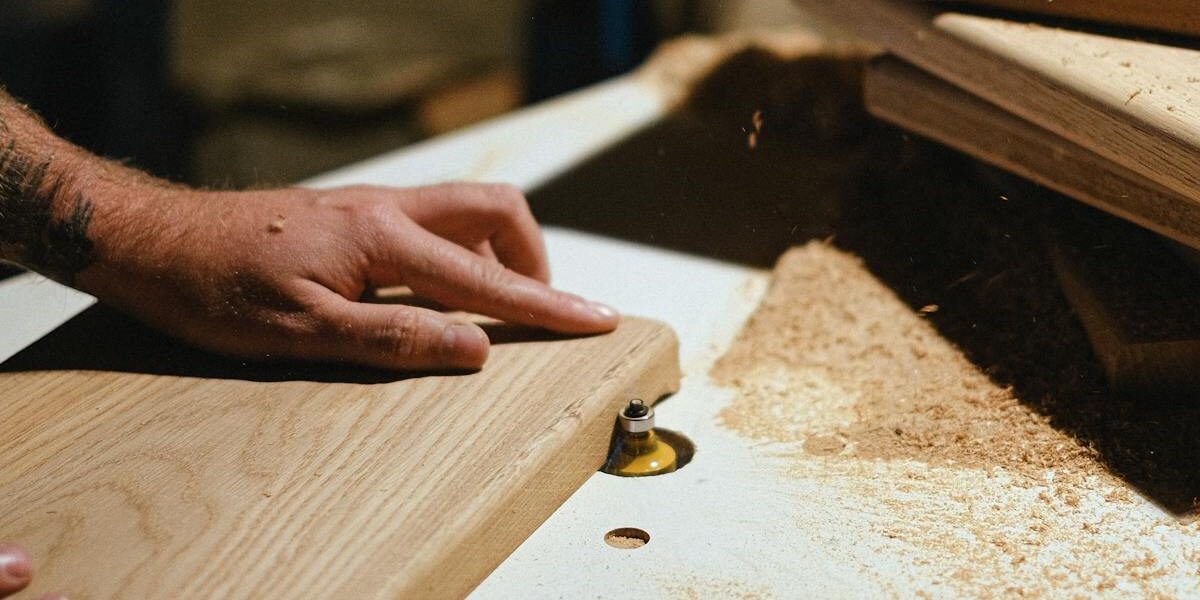
Plywood edge banding is an essential technique in woodworking, serving both functional and aesthetic purposes. It involves applying a thin strip of material to the exposed edges of plywood. This process not only enhances the appearance but also improves the durability of the furniture piece or structure.
The Purpose of Edge Banding
Exposed edges of plywood can be a vulnerability. They might look unfinished and are prone to damage from moisture, wear, and tear. Edge banding provides a protective layer, sealing the edge against moisture intrusion and mechanical wear. It gives furniture and other woodworking projects a professional look that matches the surface veneers. By matching the edge banding with the plywood surface, it’s possible to create a seamless appearance that contributes to the overall quality and appeal of the product.
Materials Used for Edge Banding
Edge banding comes in various materials, each with distinct properties and uses. Here are some common materials used for edge banding:
- Wood Veneer: This is a thin layer of real wood, providing a high-quality finish that can be sanded and stained. Ideal for projects requiring a natural wood look.
- Plastic Laminate: Durable and resistant to wear, plastic laminate is perfect for high-traffic areas or commercial use. It can mimic the appearance of wood while offering greater resilience.
- Melamine: Melamine edge banding is a cost-effective choice, often pre-glued for easy application. It’s sturdy and comes in many colors and patterns.
- Solid Wood: For projects where top-tier quality is non-negotiable, solid wood banding offers unmatched durability and aesthetic appeal. It requires more skill and time to apply.
Applying Edge Banding: Techniques and Tools
The application of edge banding can be done manually or with specialized machines, depending on the scale and precision required.
Manual Application
For small projects or DIY tasks, manual application is common. The adhesive is activated by applying heat or pressure. Here’s a step-by-step guide:
- Cut the edge banding slightly longer than the edge it’s going to cover.
- Use a household iron or a specialized heat gun to activate the adhesive on pre-glued banding. The heat melts the glue, bonding the banding to the plywood.
- Press the banding firmly to ensure a solid bond. A roller can be useful for applying even pressure.
- Trim the excess banding with a sharp utility knife or edge trimmer for a clean finish.
- Sand down the edges lightly to smooth out any rough spots for a polished look.
Machine Application
For large-scale production or commercial woodworking, edge banding machines are indispensable. These machines can apply the banding precisely at a much faster rate. They automate several steps such as cutting, applying adhesive, pressing, and trimming. Machines offer high consistency and quality, reducing manual errors.
Choosing the Right Edge Banding
The choice of edge banding depends on a variety of factors:
- Project requirements: Consider the final use of the product. Will it be subjected to heavy use? If so, go for durable materials like plastic laminate or solid wood.
- Budget: Melamine and plastic laminate are more affordable options compared to wood veneer and solid wood.
- Aesthetics: Match the edge banding to the surface for a seamless look. Choose wood veneer if staining and natural wood appearance are priorities.
- Skill level: DIY enthusiasts might prefer pre-glued melamine due to its simplicity, whereas experienced craftsmen may opt for wood veneer or solid wood for custom finishes.
Common Issues and Solutions
Even with careful application, problems can arise. Here are some typical issues and how to address them:
- Adhesion failure: Poor adhesion can occur if the adhesive isn’t heated enough or applied under insufficient pressure. Ensure the entire surface of the banding is heated evenly, and use adequate pressure during application.
- Uneven edges: Trimming too hastily can lead to uneven edges. Use a trimmer with a guide, and sand carefully to match the plywood surface.
- Peeling or bubbling: This can happen if there is moisture interference. Ensure surfaces are clean and dry before starting the process. Use a dehumidifier in humid conditions to maintain the integrity of the bond.
Sustainability and Environmental Considerations
Sustainability is an ever-growing concern in woodworking. When choosing edge banding, consider the environmental impact. Wood veneer and solid wood banding from sustainably managed forests can be eco-friendly choices. Adhesives are another consideration; water-based adhesives tend to be less harmful than solvent-based ones. Recycled materials are also increasingly available, providing sustainable options without compromising on quality.
Edge Banding Innovations
The field of edge banding is not static; innovation is ongoing. One recent development is laser edge banding. This technology uses a laser beam to activate the adhesive layer of the banding, offering cleaner edges and reducing adhesive overflow. Another trend is digital printing on edge banding materials, allowing custom patterns and textures. These innovations aim to enhance efficiency, quality, and aesthetic possibilities in modern woodworking.
Advanced Tips for Professionals
For those with more experience, there are advanced techniques to explore. Custom staining of wood veneer edge banding can help achieve unique finishes that match specific design requirements. For a more robust finish, consider using polyurethane or lacquer coatings post-application. This adds a layer of protection to the edge banding, prolonging the life of the project.
For seamless joints, miter the edges where the banding meets at corners. This requires precise cuts and alignment but results in a more professional finish. Edge banding can also be layered for added thickness or visual interest, though this requires careful planning and execution.


Subscribe for Updates
Get the latest articles delivered to your inbox.
We respect your privacy. Unsubscribe anytime.